 |
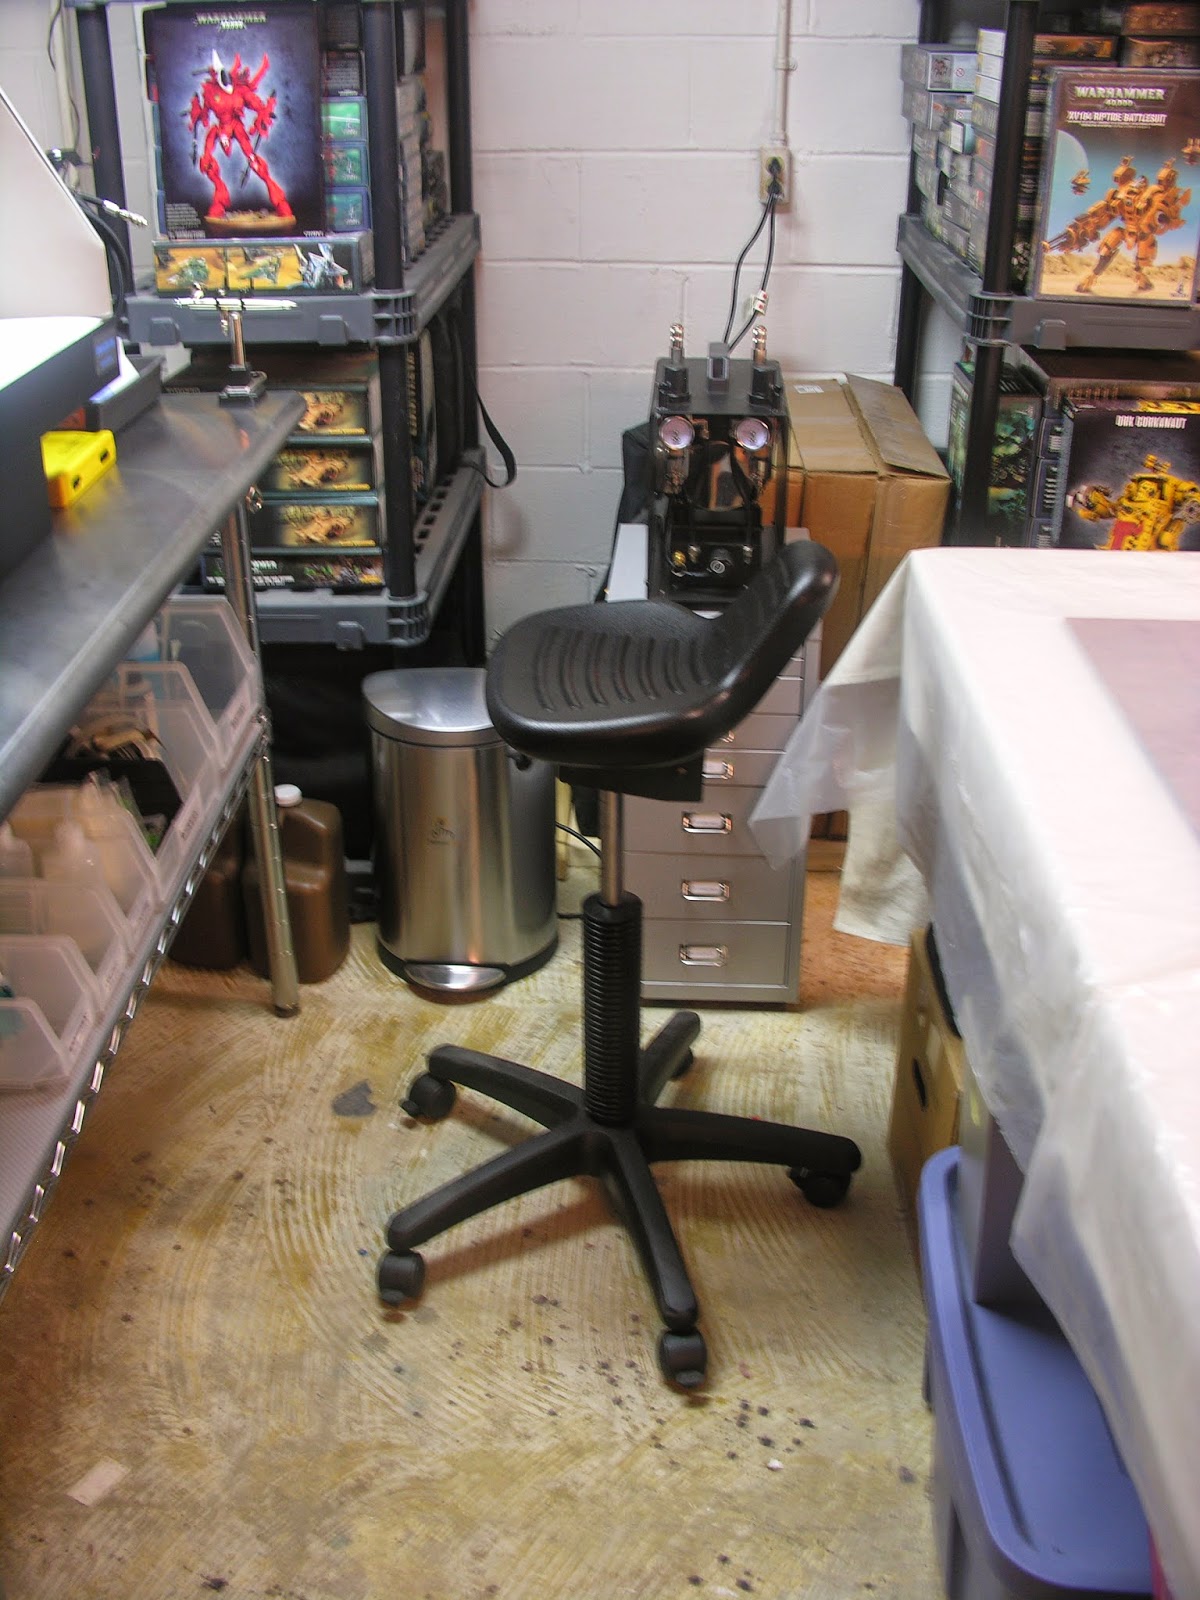
| Side view of my new station | |
|
Back after a short break, in the time away I did a reorg of
the airbrushing station I had set up in my basement. The upgrade consisted of a sturdy metal
table, a hood, a new chair, and a new compressor. I want to make the critical point these
upgrades were done after a few years of airbrushing. When I first started I would not have started
with this kind of set up because first of all I didn’t know if I would actually
enjoy airbrushing. It would have been a
really waste to start with these upgrades and find out I didn’t care for
airbrushing. In addition after having
airbrushed for a few years I understood the equipment and how my practice could
benefit from these upgrades.
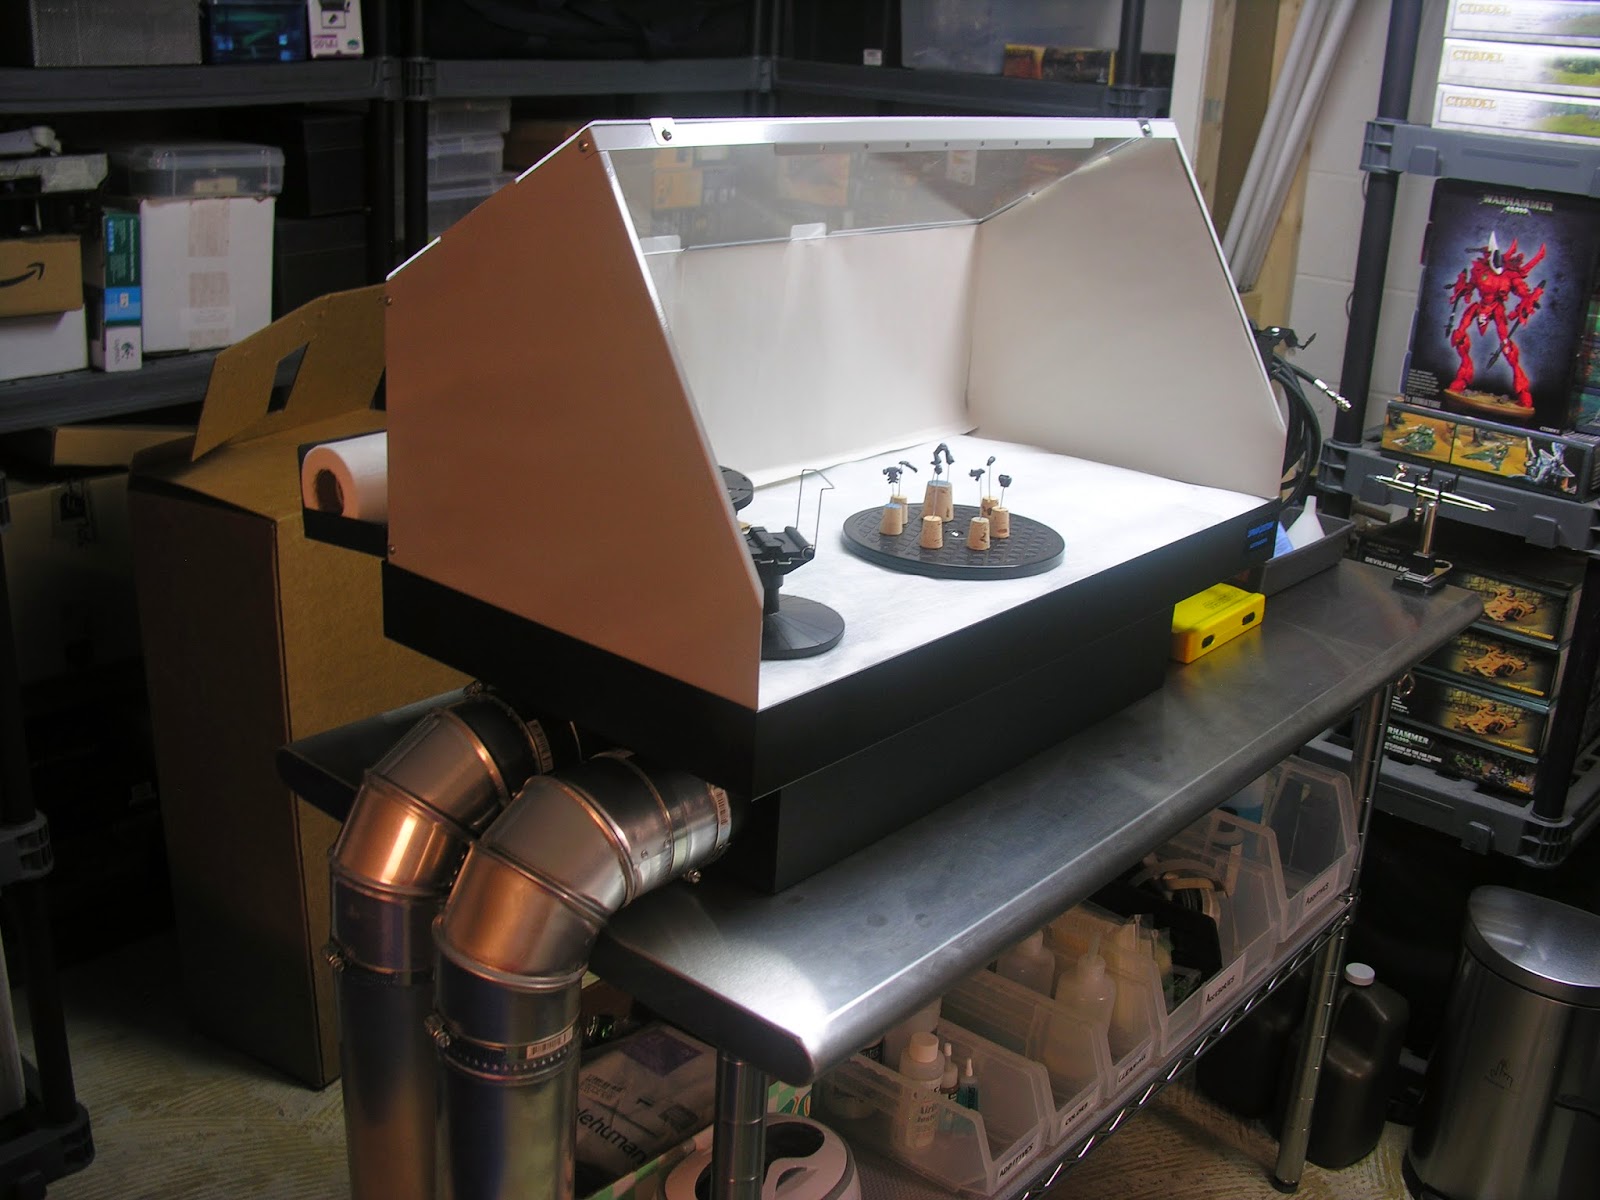 |
| Hood with venting, I vent down because I am not spraying toxic chemicals |
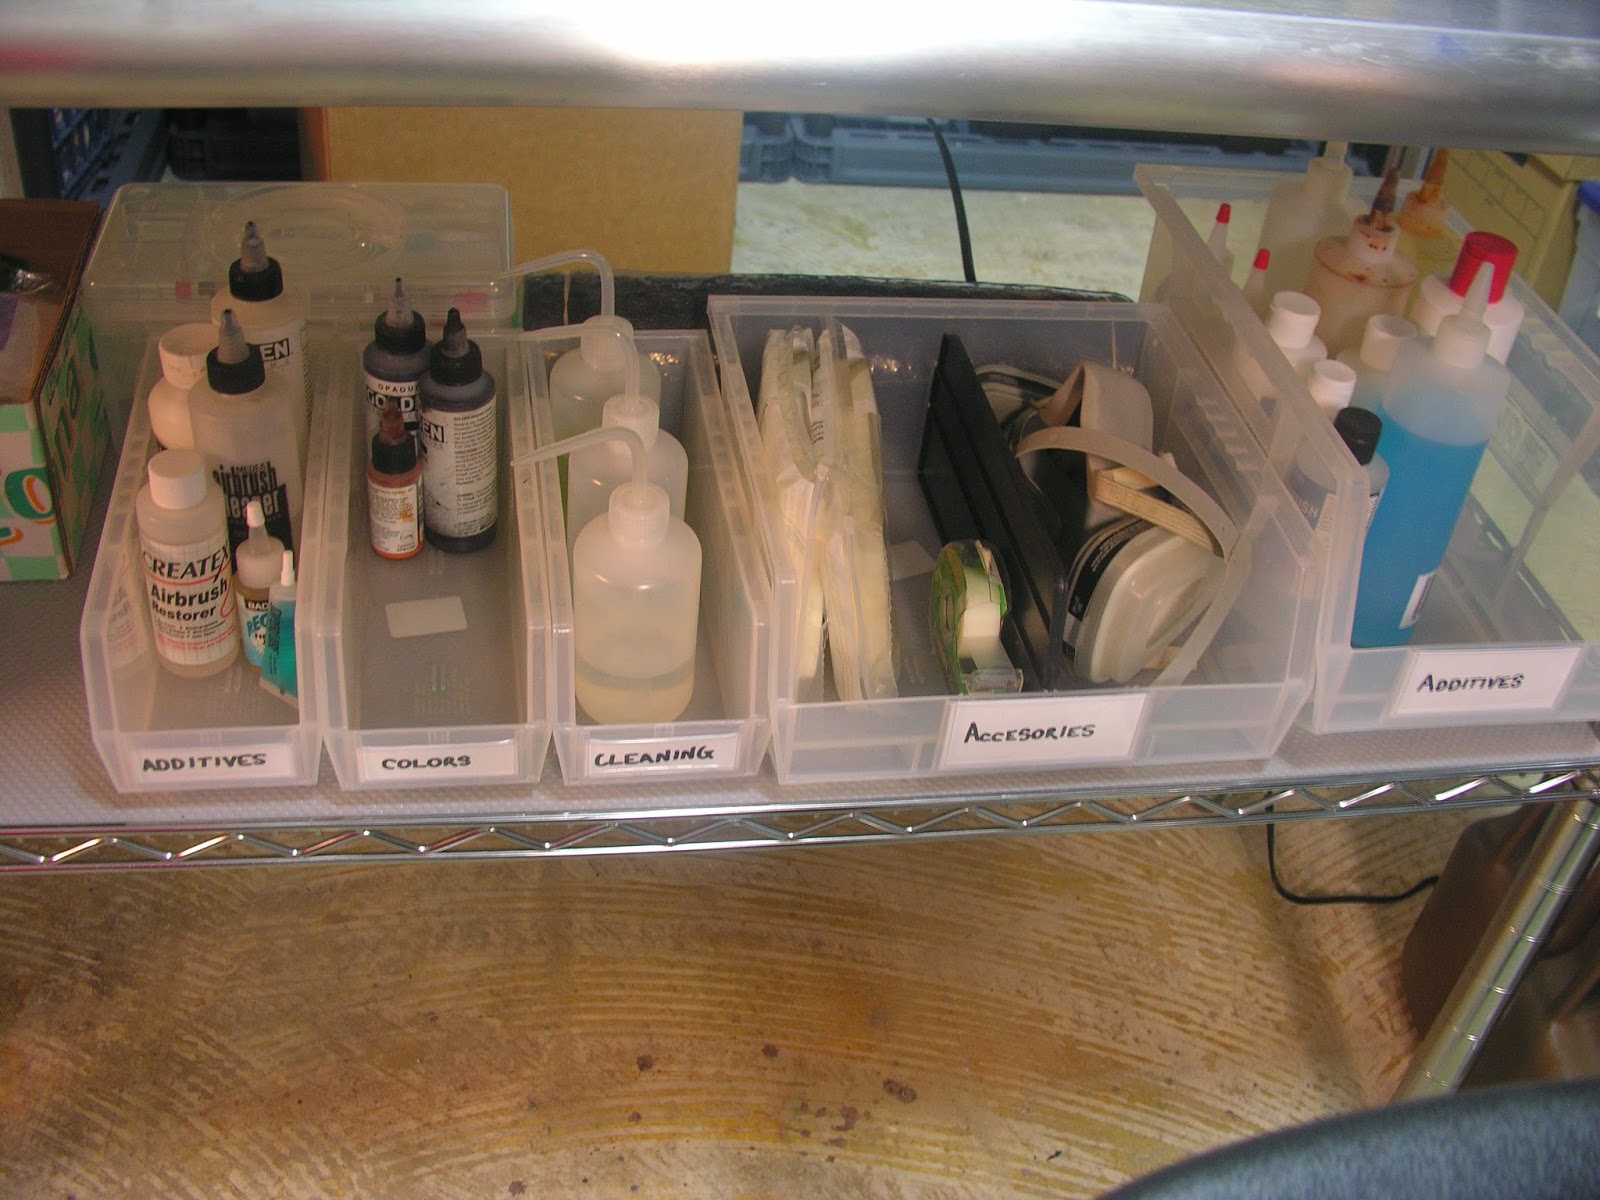 |
| The table has a shelf where I can organize essentials out of the way |
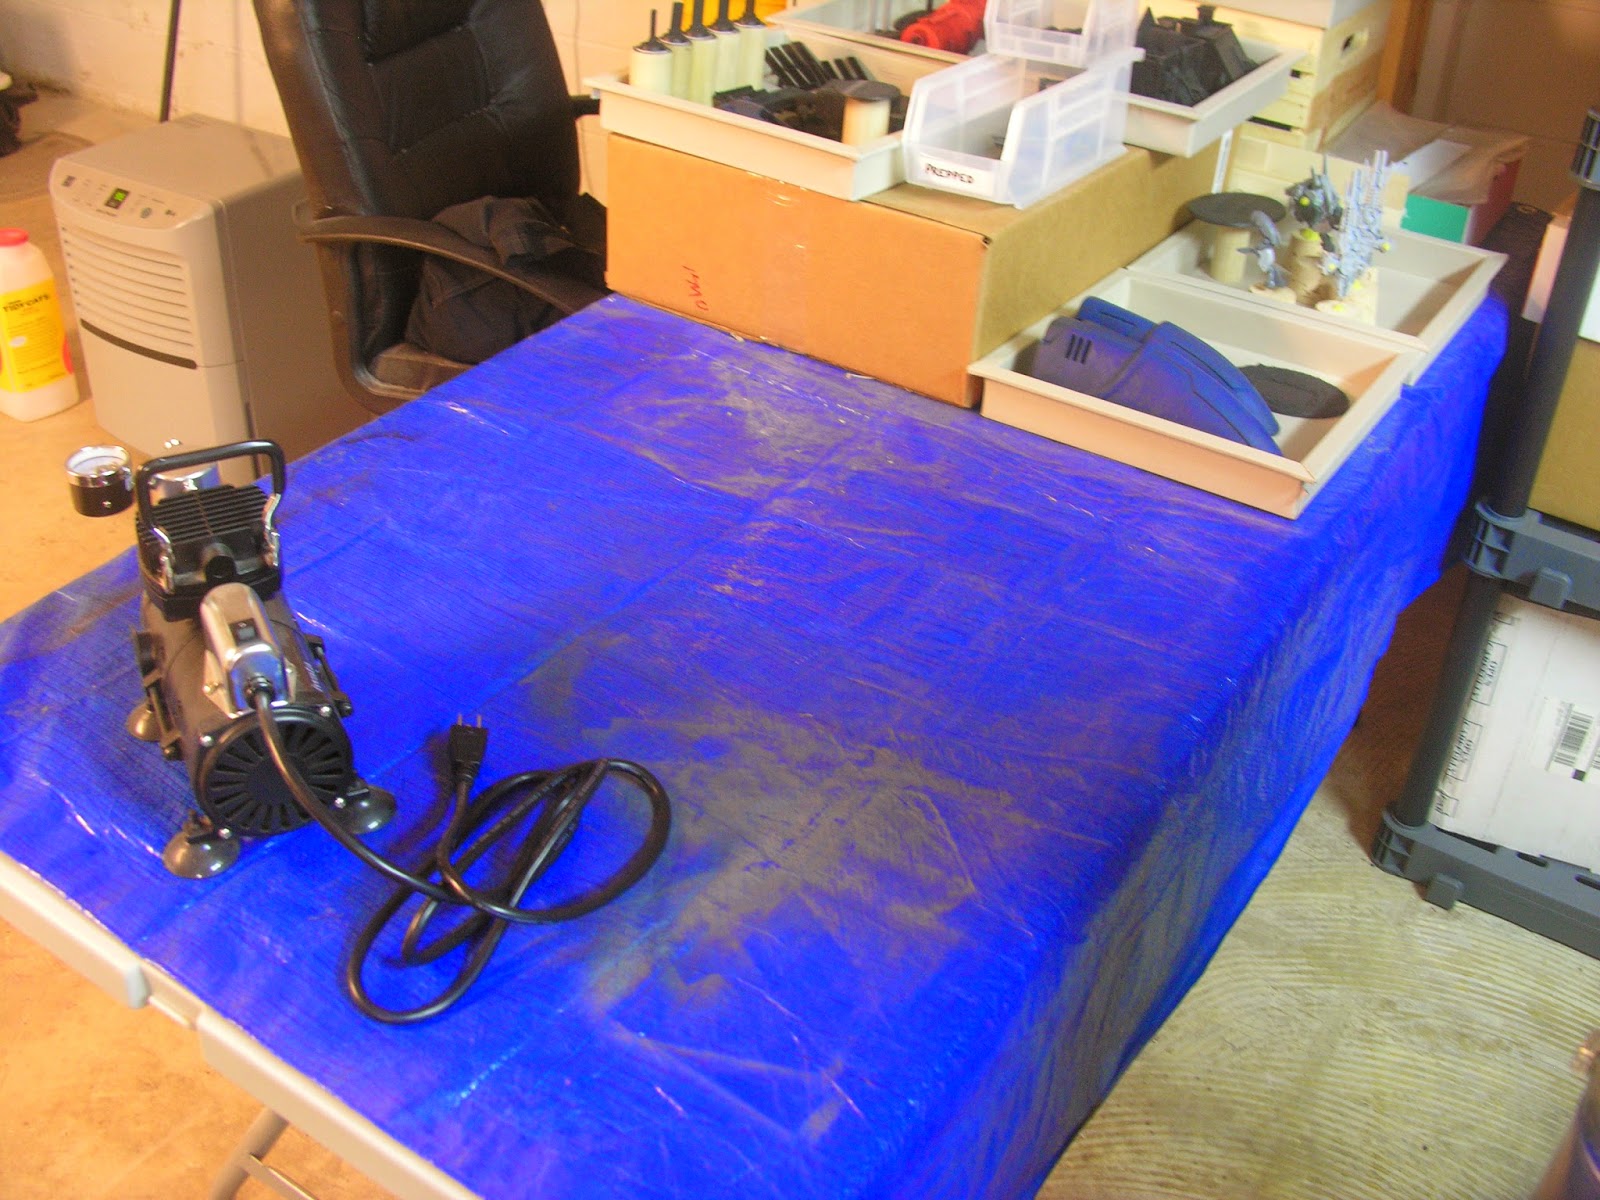 |
| Here is my old space which was a portable plastic folding table with a tarp and my old compressor. |
|
Below are two of the airbrushes I use. Airbrushing itself can become an addiction
much like collecting miniatures. Each
airbrush handles differently and gives a different experience. I enjoy using different brushes in different
projects. Think of this like switching cars for a variety in the feel of the road. Different cars give different rides, so do brushes. In this case these
Harder & Steenbecks, an Evolution and an Infinity, spray very smoothly. In disassembly they are incredibly well
engineered. Double action gravity feed
airbrushes for the most part are pretty similar from one brand to another and
one model to another. Once you take one apart
and really understand how it works you’ll appreciate the subtle way parts
differ from brush to brush. Harder &
Steenbeck have very elegant parts that makes reassembly of their brushes a very
simple process. They are also finicky
and need to be cleaned well after use.
 |
| The evolution I use for general work the Infinity for details |
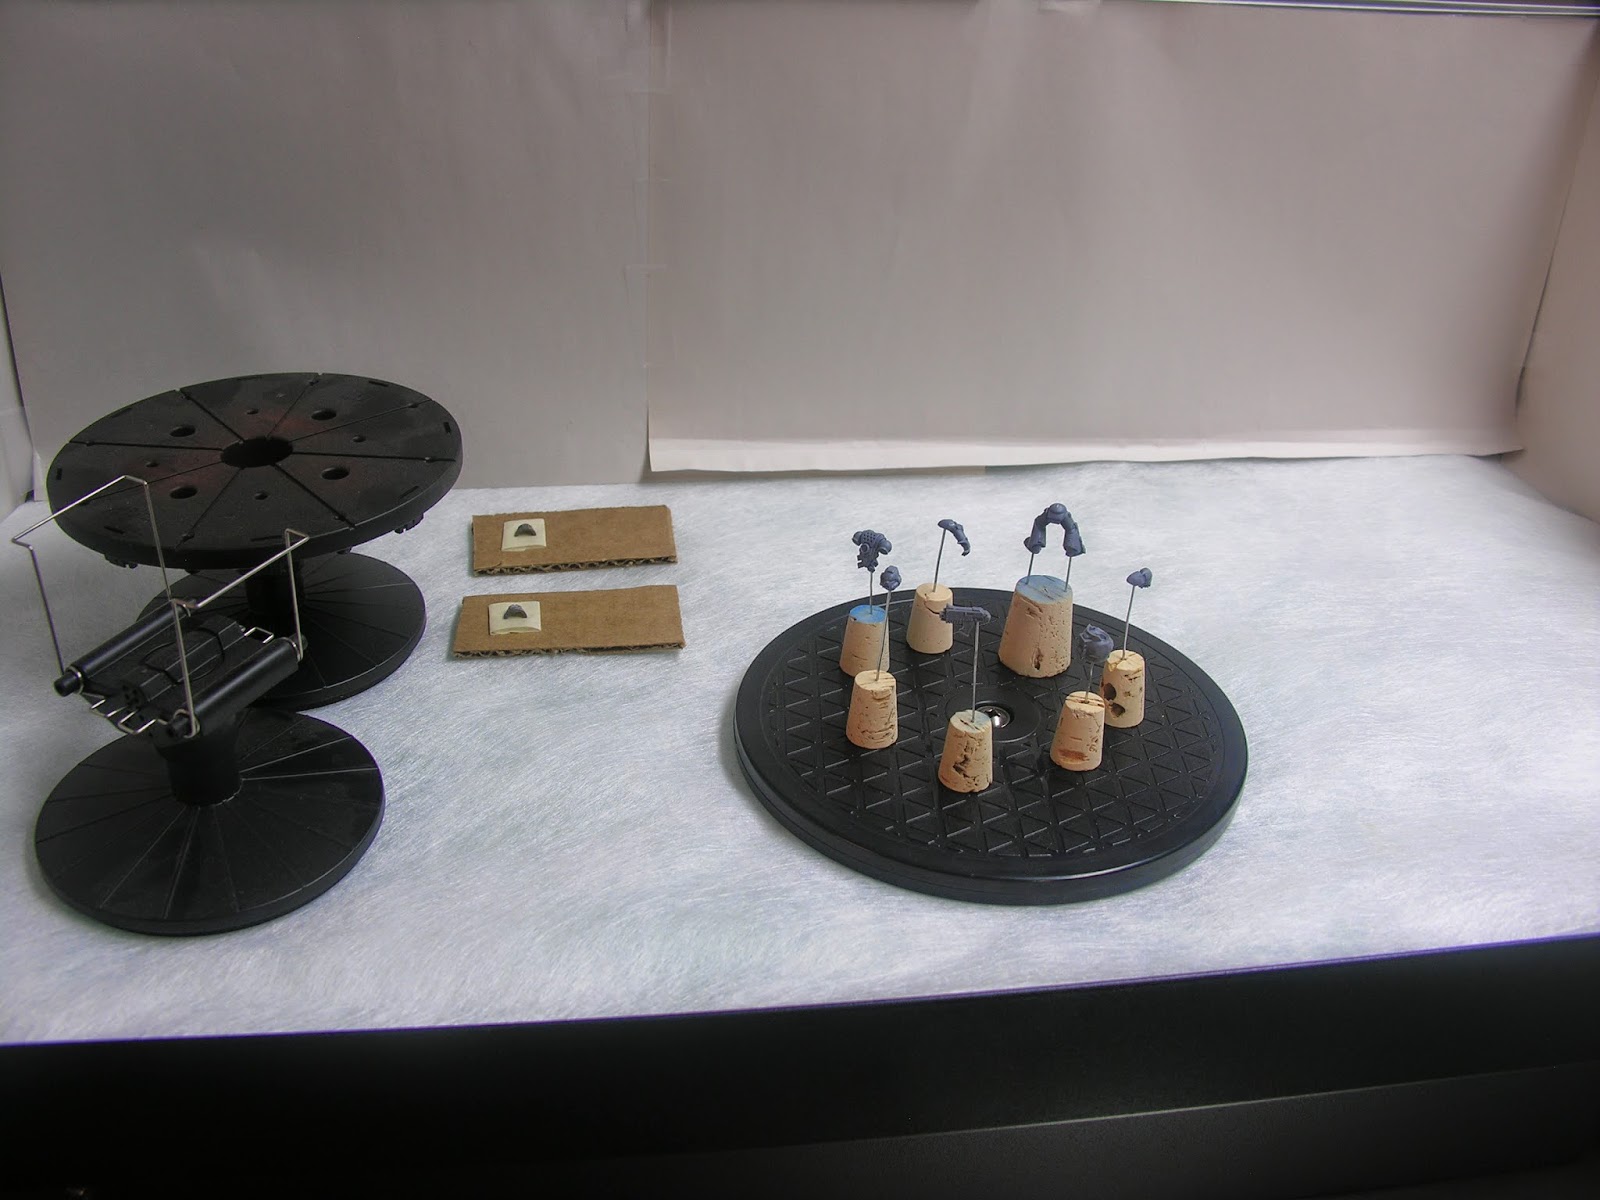 |
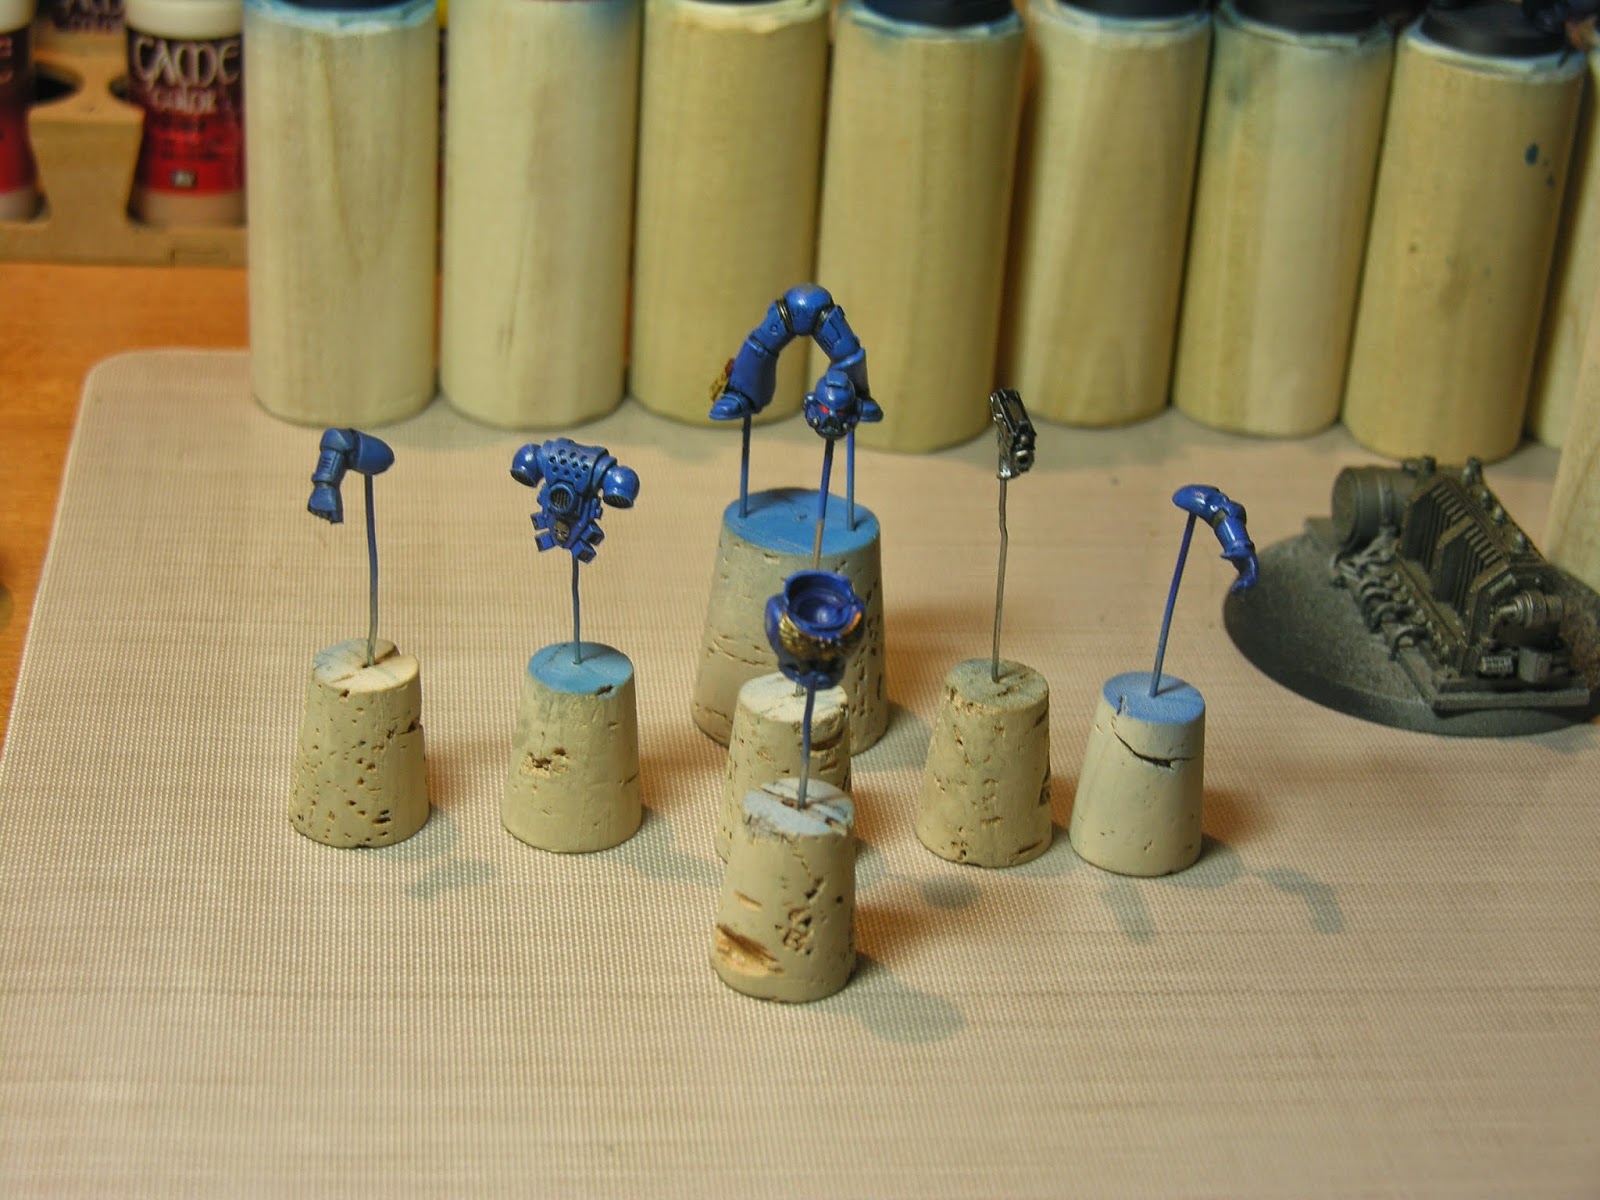
| Parts waiting to be primed |
Along with the upgrade of my airbrush space I have also
tried to expand my use of the brush in miniatures.
I broke a space marine
into separate components to use the airbrush for base coating, highlighting,
and shading.
The results were good.
I used a brush to complete the miniature and
touch up the edge highlights.
I’m happy
with the end result so after painting up this test miniature I plan to use this
method to complete the squad.
To use the
airbrush in this technique requires a good control with the brush as you have to
drop the PSI and get in close and have a soft touch on the trigger.
Airbrushes can be a great tool for miniature painters,
but they are something that one should take their time with and allow them to
grow into your method and wait until you can appreciate the equipment before
you invest good money into the high-end items.
 |
| Completed components after painting waiting assembly |
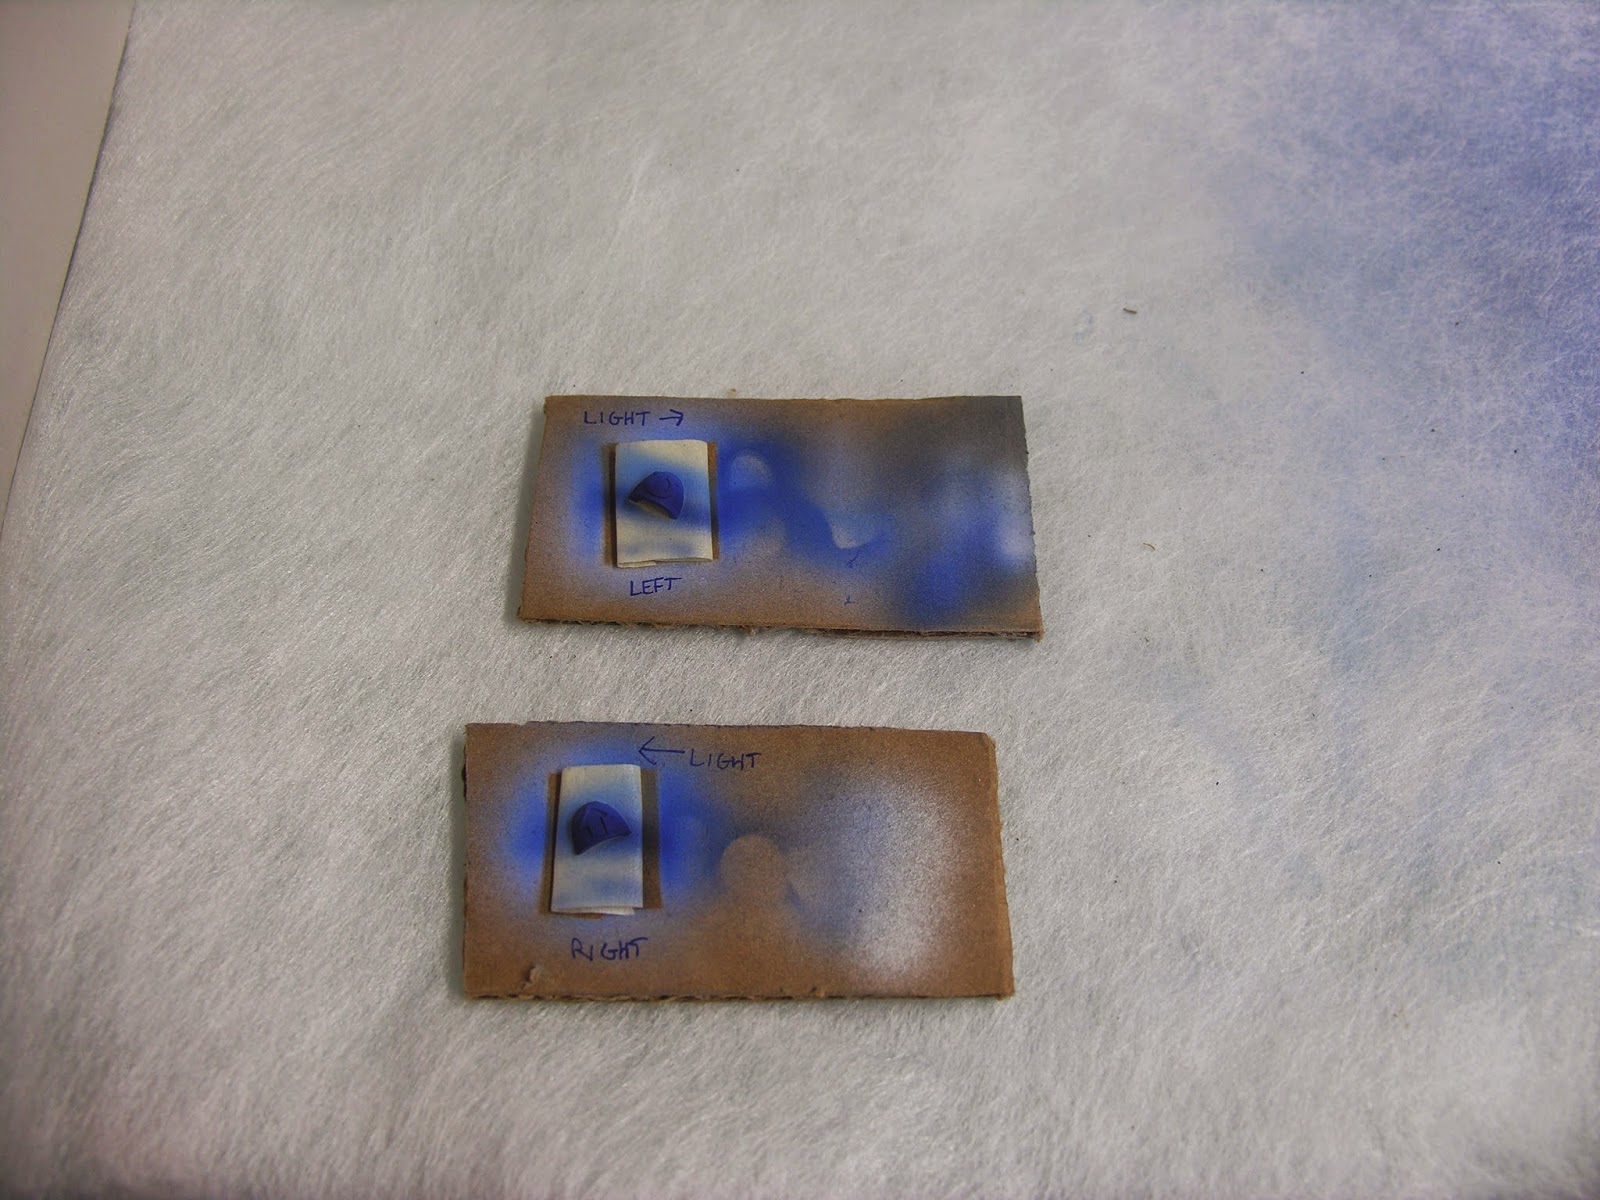 |
| To get the highlights right on shoulder pads they need some more attention |
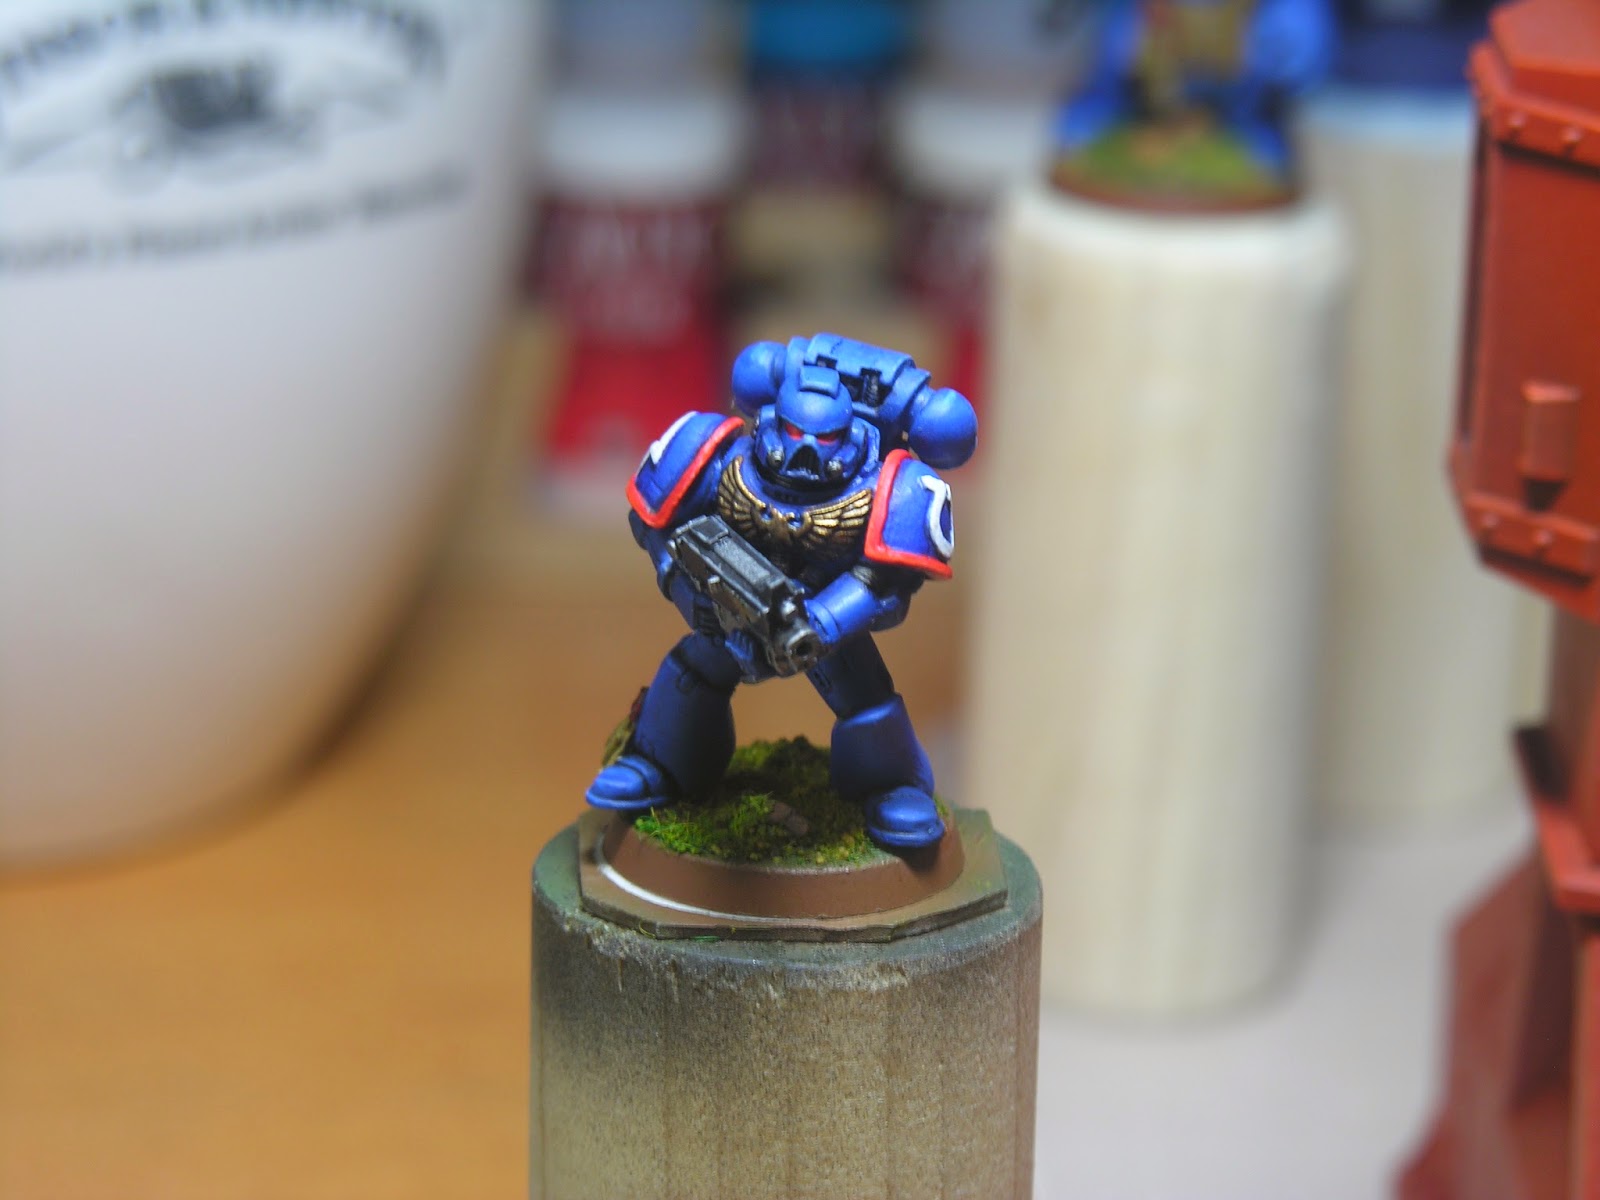 |
| Completed miniature |
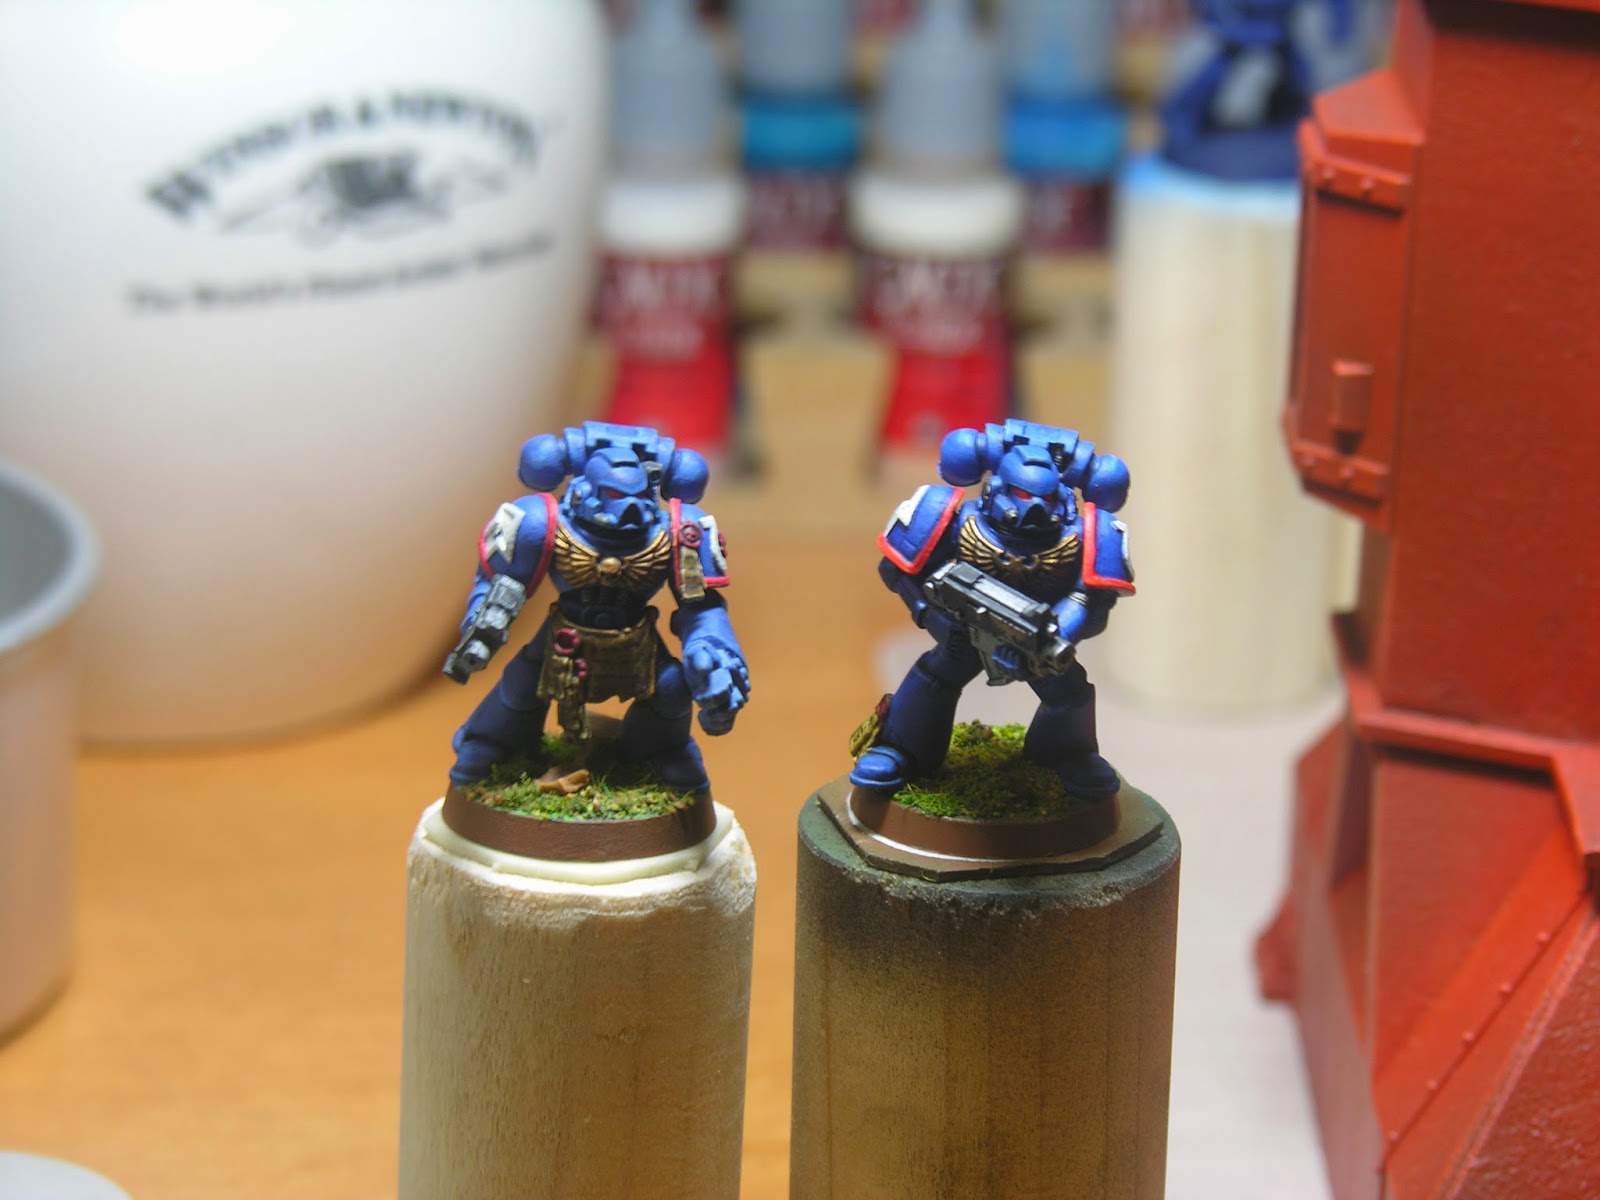 |
| side by side of a brush painted marine from a couple of years ago and my current airbrush and brush painted marine. I went for a darker blue but main difference for me is the highlights are more subdued on the airbrushed model. |


