Sunday, July 6, 2014

Renovations


Side view of my new station


Back after a short break, in the time away I did a reorg of the airbrushing station I had set up in my basement.  The upgrade consisted of a sturdy metal table, a hood, a new chair, and a new compressor.  I want to make the critical point these upgrades were done after a few years of airbrushing.  When I first started I would not have started with this kind of set up because first of all I didn’t know if I would actually enjoy airbrushing.  It would have been a really waste to start with these upgrades and find out I didn’t care for airbrushing.  In addition after having airbrushed for a few years I understood the equipment and how my practice could benefit from these upgrades.

Hood with venting, I vent down because I am not spraying toxic chemicals

The table has a shelf where I can organize essentials out of the way 

Here is my old space which was a portable plastic folding table with a tarp and my old compressor.
 
Below are two of the airbrushes I use.  Airbrushing itself can become an addiction much like collecting miniatures.  Each airbrush handles differently and gives a different experience.  I enjoy using different brushes in different projects.  Think of this like switching cars for a variety in the feel of the road.  Different cars give different rides, so do brushes.  In this case these Harder & Steenbecks, an Evolution and an Infinity, spray very smoothly.  In disassembly they are incredibly well engineered.  Double action gravity feed airbrushes for the most part are pretty similar from one brand to another and one model to another.  Once you take one apart and really understand how it works you’ll appreciate the subtle way parts differ from brush to brush.  Harder & Steenbeck have very elegant parts that makes reassembly of their brushes a very simple process.  They are also finicky and need to be cleaned well after use.

The evolution I use for general work the Infinity for details

Parts waiting to be primed
Along with the upgrade of my airbrush space I have also tried to expand my use of the brush in miniatures.  I broke a space marine into separate components to use the airbrush for base coating, highlighting, and shading.  The results were good.  I used a brush to complete the miniature and touch up the edge highlights.  I’m happy with the end result so after painting up this test miniature I plan to use this method to complete the squad.  To use the airbrush in this technique requires a good control with the brush as you have to drop the PSI and get in close and have a soft touch on the trigger.  Airbrushes can be a great tool for miniature painters, but they are something that one should take their time with and allow them to grow into your method and wait until you can appreciate the equipment before you invest good money into the high-end items.


Completed components after painting waiting assembly

To get the highlights right on shoulder pads they need some more attention


Completed miniature


side by side of a brush painted marine from a couple of years ago and my current airbrush and brush painted marine.  I went for a darker blue but main difference for me is the highlights are more subdued on the airbrushed model.


Sunday, April 6, 2014

Restoration


One of the interesting aspects of miniature painting is looking at things you painted when you first started and realizing how much you have grown in skill.  The only drawback to this is when you have very unique pieces you purchased that you really wish you hadn’t painted so early on.  Forge World items come to mind here.  My number one reason to tell people to wait on Forge World is you don’t want to buy those models until you’re comfortable with your skill level.  The simple fact is as you get better you’ll really be bothered that some of your nicest pieces are not painted to the best of your ability.  Yes you always get better, but I do think there is a key period in those first couple of years where your skill takes off at a dramatic level and after that your improvement is more subtle.  So at least for me I really should have waited on some of those nicer Forge World pieces.

The stripped piece
For the most part I purchased those pieces but never really panted them.  My pack rat tendency to purchase, collect, and not open actually worked to my advantage.  The few things I did paint I didn’t finish and were generally not too far along where I couldn’t go back and retouch them.  In this case I have a Tau Orca which is partially painted.  I have been stripping it here and there as a side project.  In this entry I want to feature the pilot pod from the Orca which had a base coat and was primed.  The priming was done with an aerosol can some time ago.  I stripped that down as best I could for the most part it was fairly clear with small patches of primer here 
 and there.

The interiors
Bottom view
Undersides
 
From the front you can see the highlighted edge built up
I wanted to see how this model would take priming and painting from an airbrush.  I primed it with Vallejo surface primer and used the airbrush to apply the general coats and an edge highlight.  I finished up the finer points by hand.  The interior was airbrushed as well with the details done by hand.  All in all I was very happy with the results and look forward to paining the rest of the Orca in the future.


From the side the green and silver provide accents
From behind and underneath the lime green can be touchy to paint when possible I prefer to airbrush this color as it builds better with an airbrush

The interior I am very happy with the details

Wednesday, February 26, 2014

Forgeworld Relics!


This entry I want to show some of my old Forgeworld pieces that have been sitting around for a long time that I finally painted.  Forgeworld has produced a number of terrain pieces over the years that provide great visual flavor to any board.  I do enjoy the Horus Heresy collection; however I believe that has taken away from the variety of other things Forgeworld used to produce like ruined terrain and other such things.  Every once in a while we see a glimpse of that brilliance.  I would point to the crashed Thunderhawk Realm of Battle board as a recent example.

I have a number of nice Forgeworld pieces sitting around some like the Tau turret and sensor tower can still be purchased and one Imperial moisture condenser are long gone.  I have easily had these pieces probably six years or more sitting around unpainted.  I think part if the reason is I simply couldn’t get the finish I really wanted on these pieces and why pay a premium for a nice piece but not have a matching quality paint job.  I don’t like people painting my stuff so it sat around until a solution presented itself.  
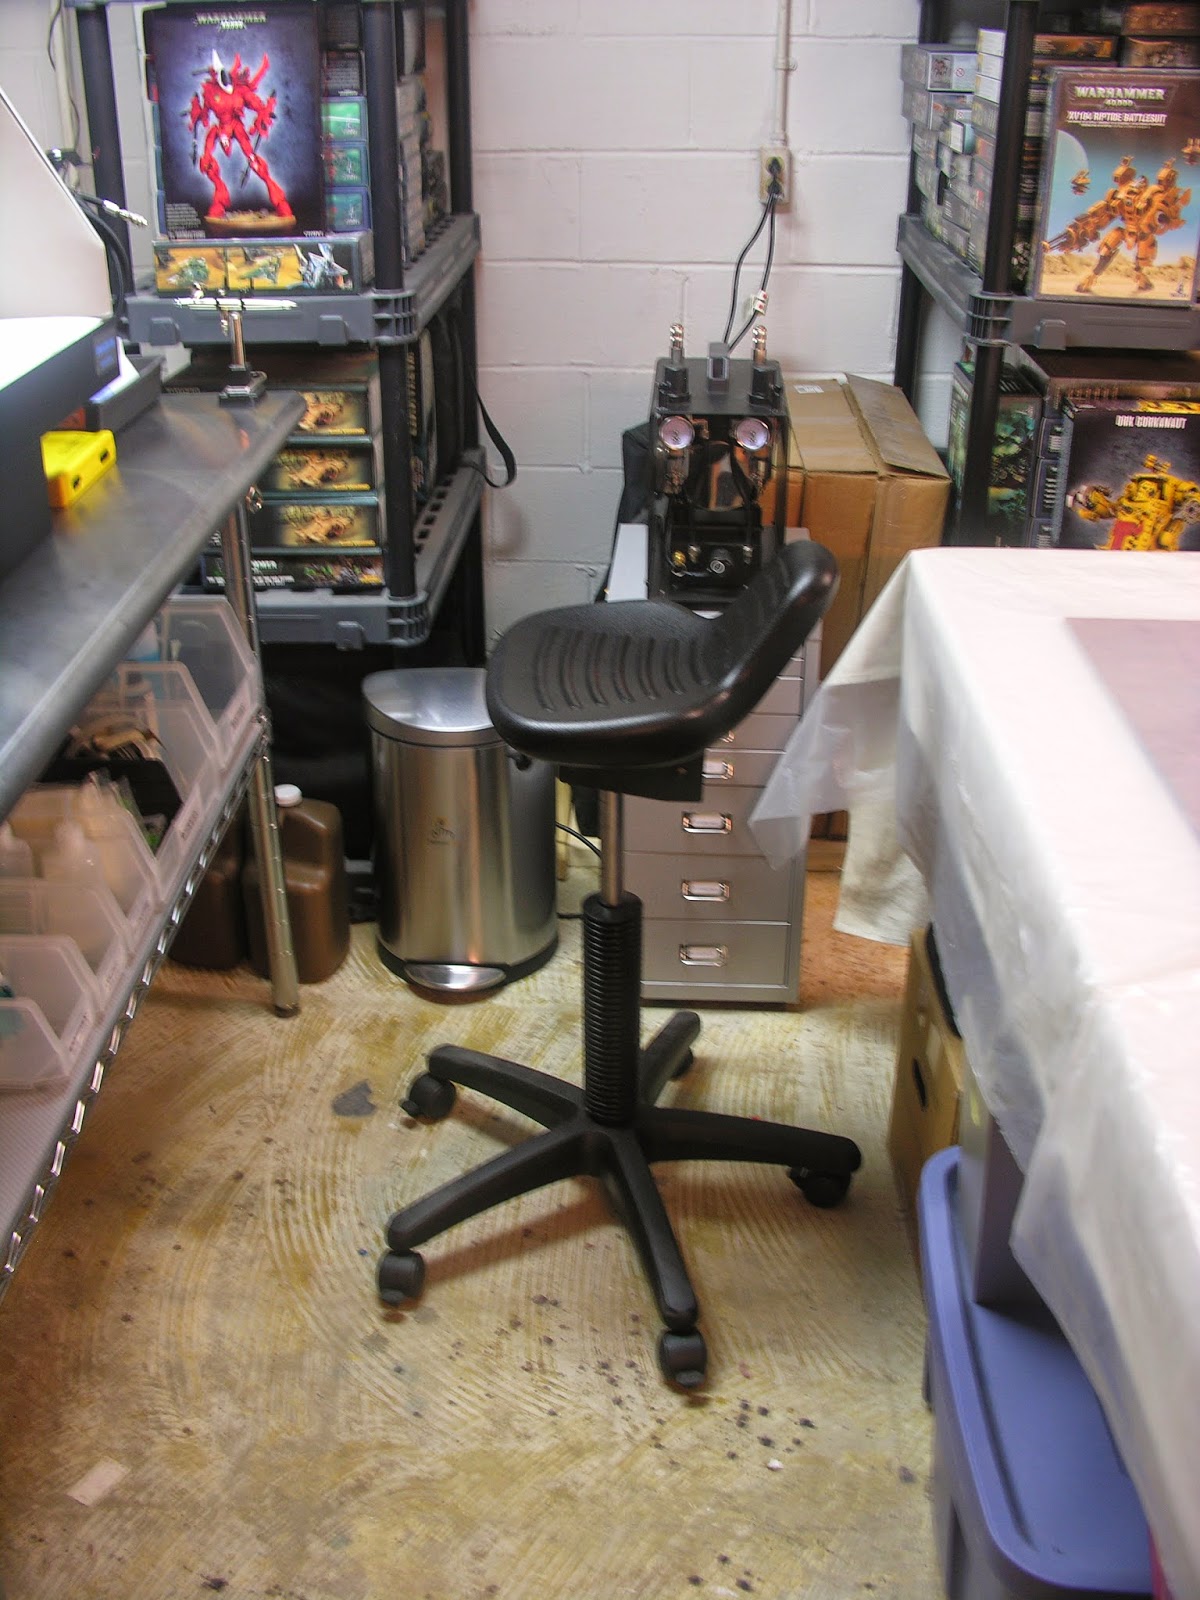
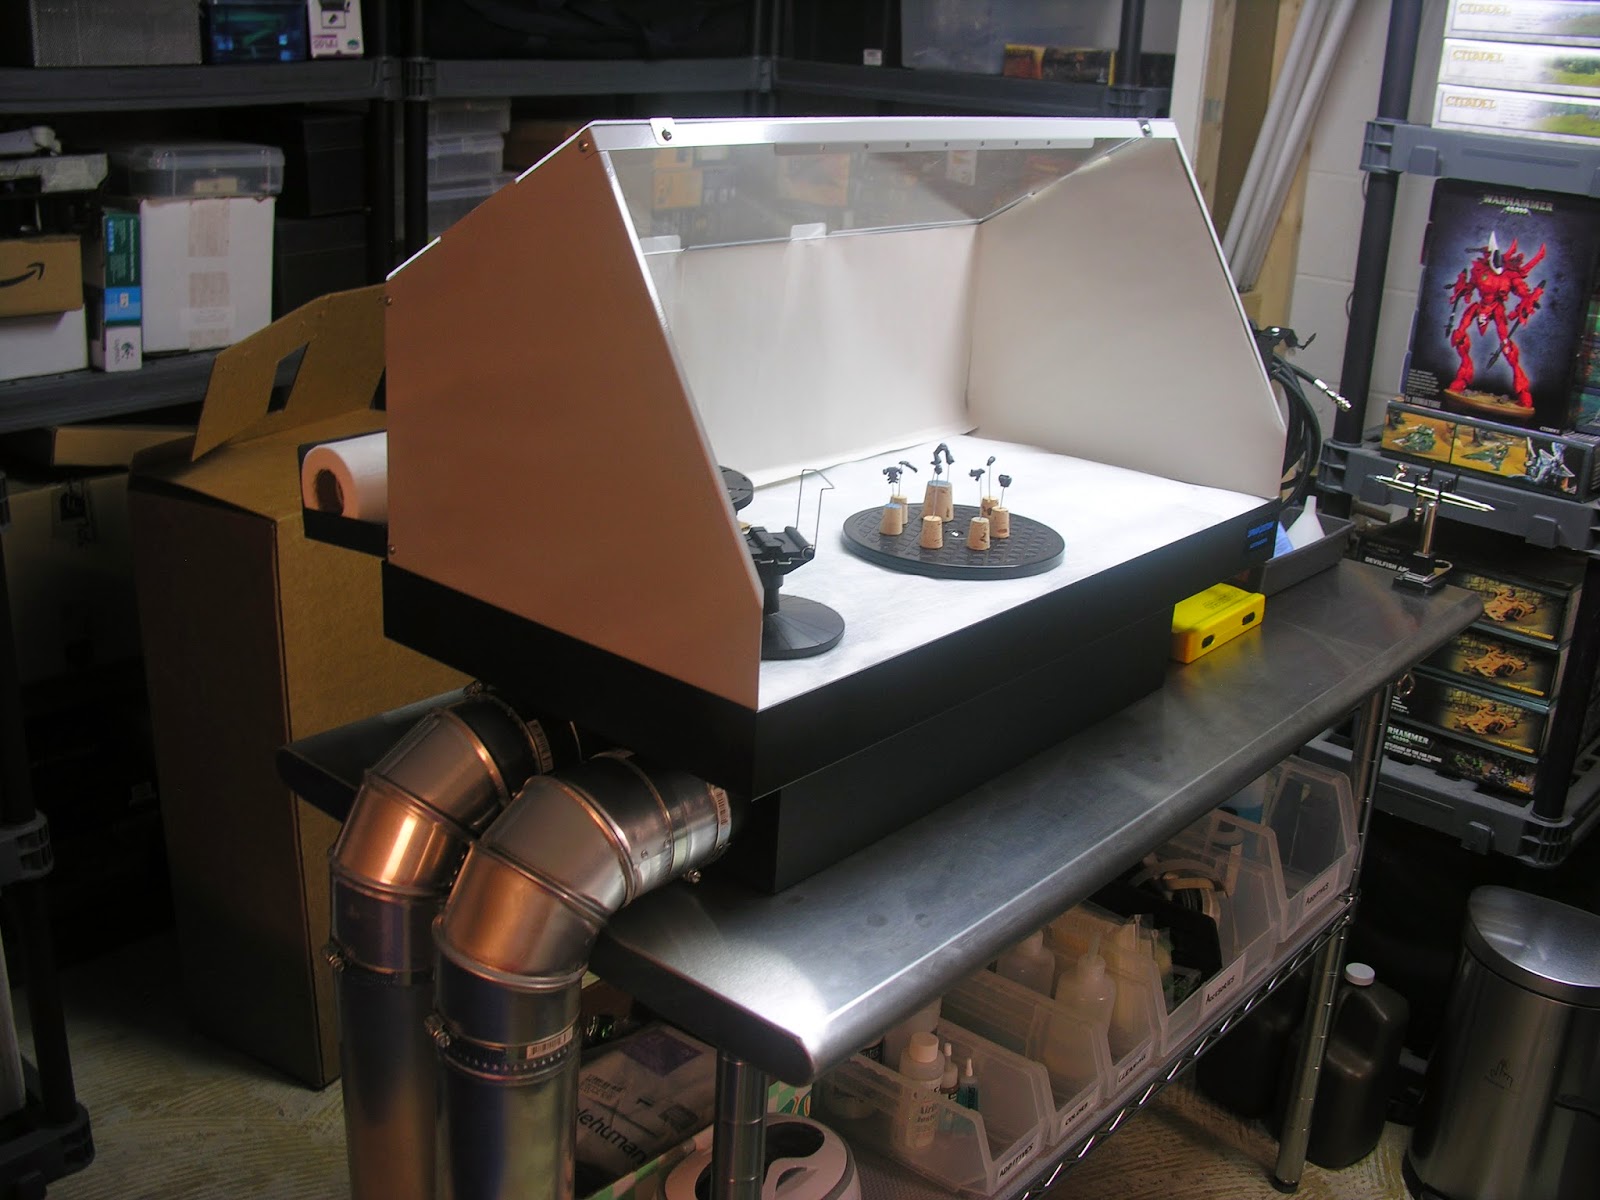
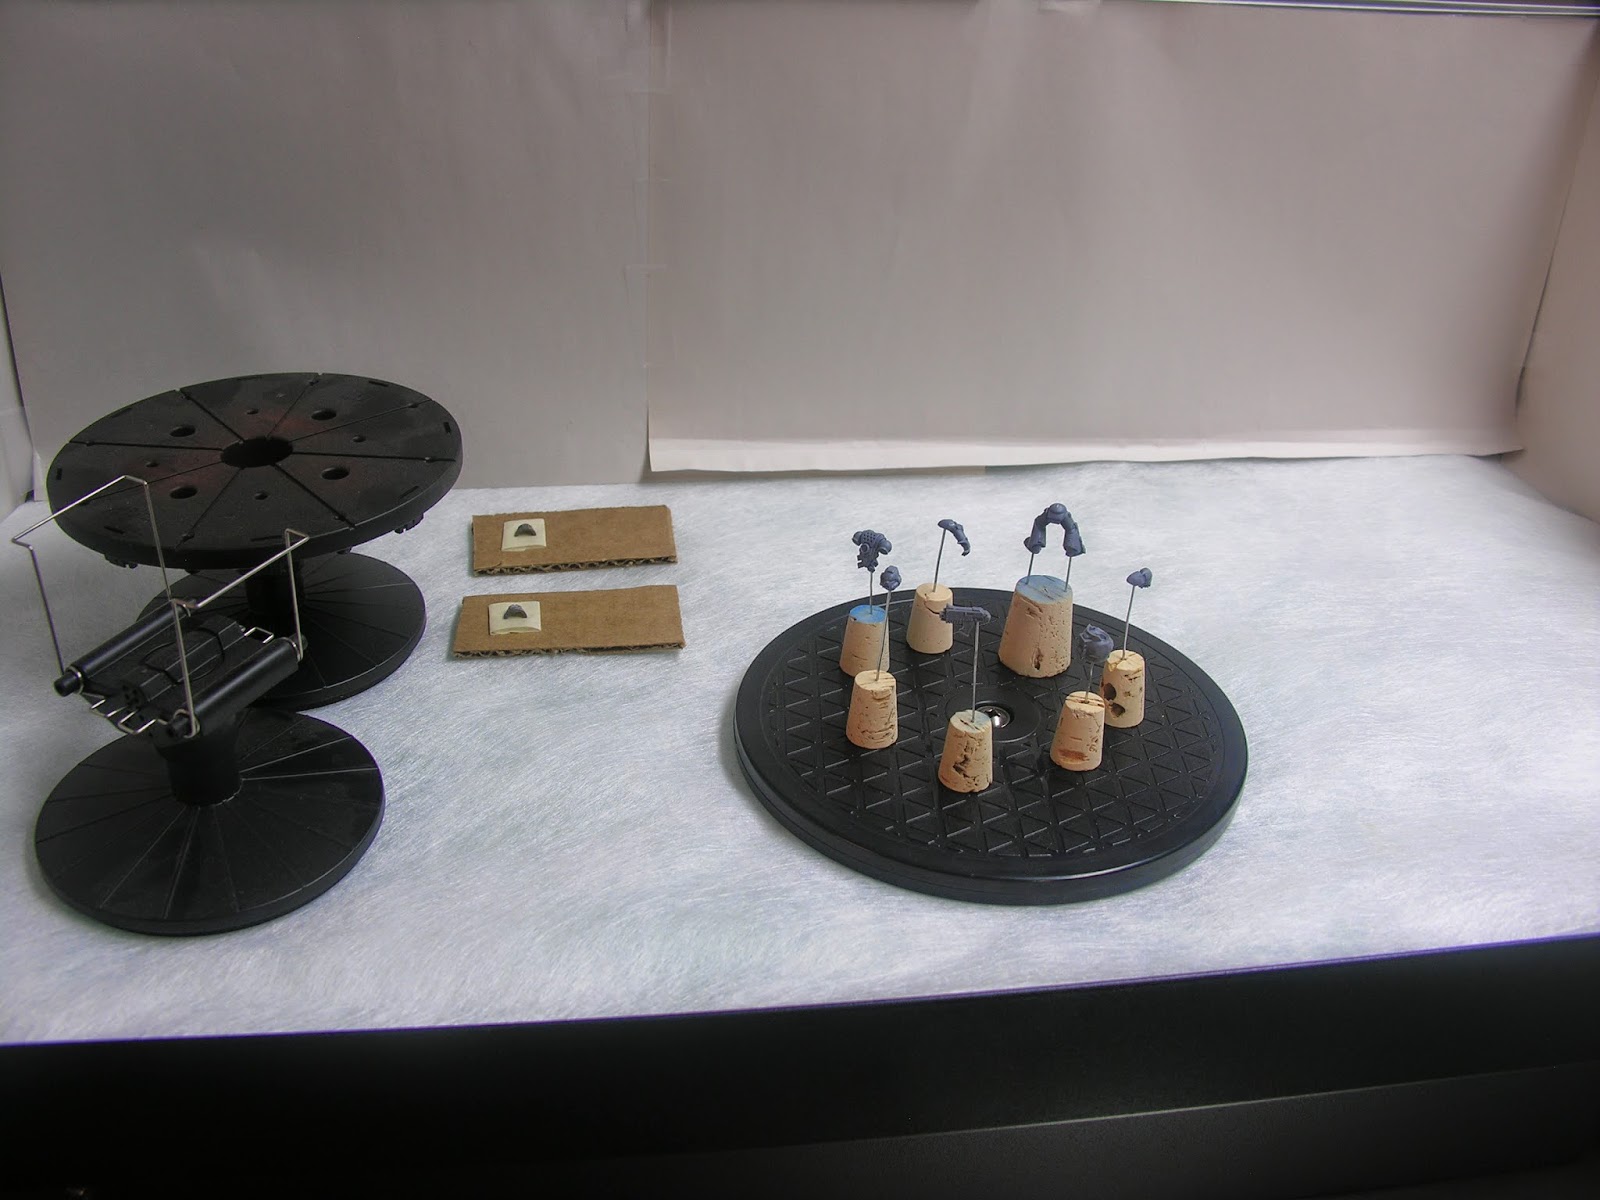
That solution was an airbrush.  Airbrushing has allowed me to get great coverage and smooth finishes in the fraction of the time it would take otherwise.  I have also achieved spectacular blending that is exceptionally more difficult to achieve with a conventional brush.  In a future entry I’ll go into more detail about airbrushing but for now it suffice to say that is what has unlocked my ability to get finishes on Forgeworld stuff that are worthy of the models themselves.

 Here you see the Tau turret.  I airbrushed the vast majority of this model.  The airbrush was used to prime, base-coat, highlight and shade.  A brush was used for finer details and finishing.  The fluorescent green was airbrushed as well but I used masking tape to do that without bleeding into the blue.  This is where an airbrush really shines.  This particular color is very thin and needs a number of coats to really show.  You can also get very inconsistent coats with brush strokes showing.  An airbrush works this color to precision and really lets it show.


The Tau sensor tower is same paint job as the turret so there isn’t too much to say.  Here the fluorescent green was in too small of an area to mask for so I did that by hand.  I also modeled the tower as closed as I found the open look awkward.  I might buy another way and model open for some variety.  I do plan to buy more turrets as I love those.
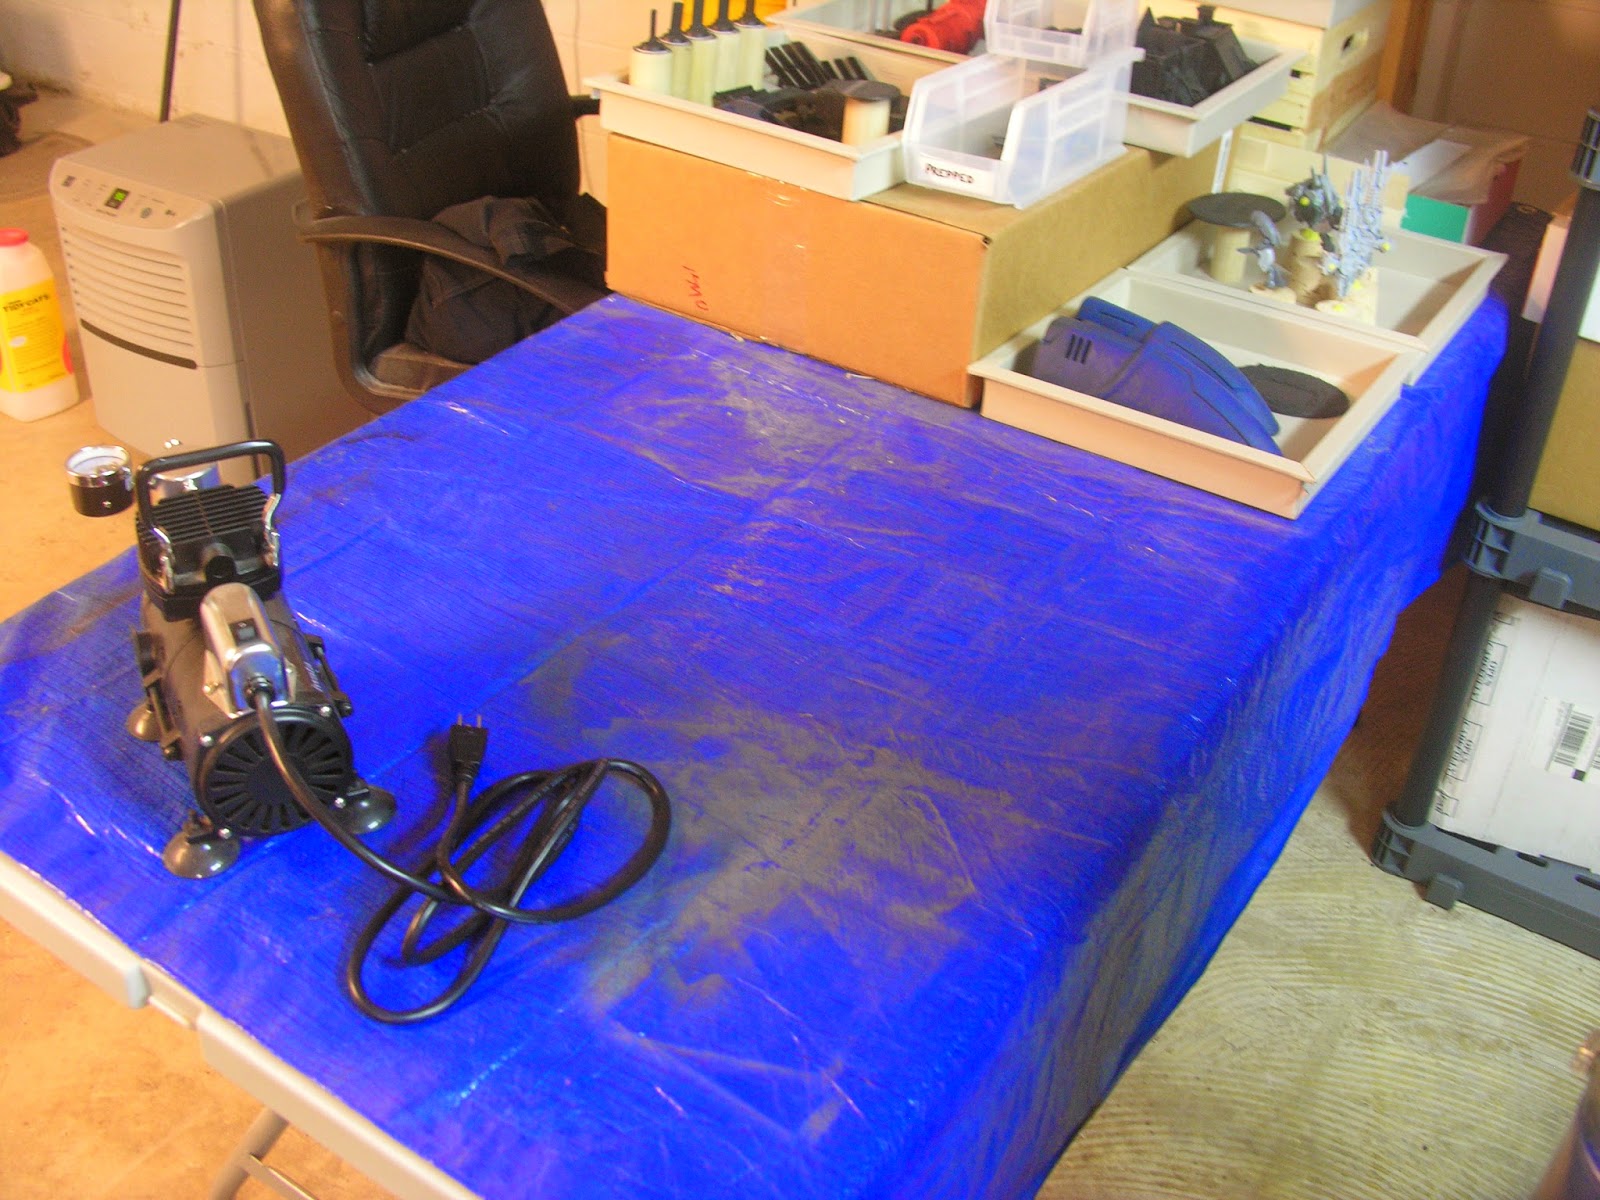
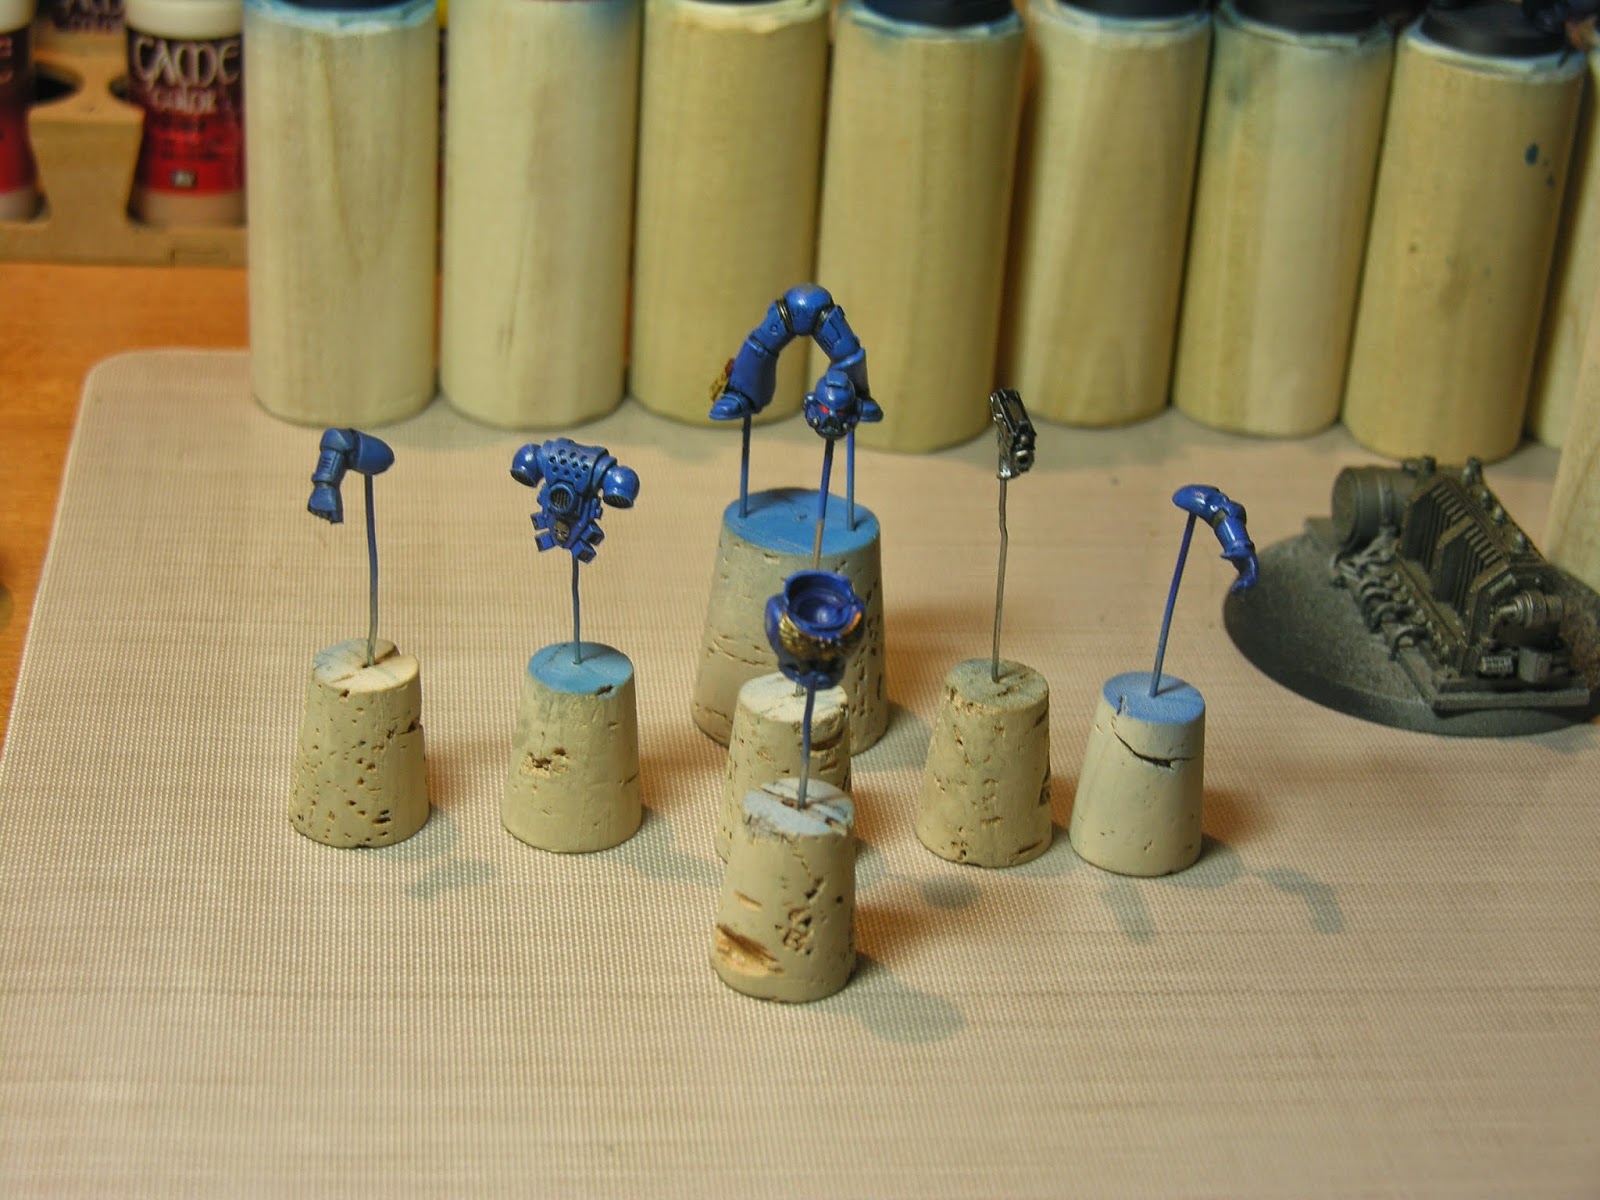
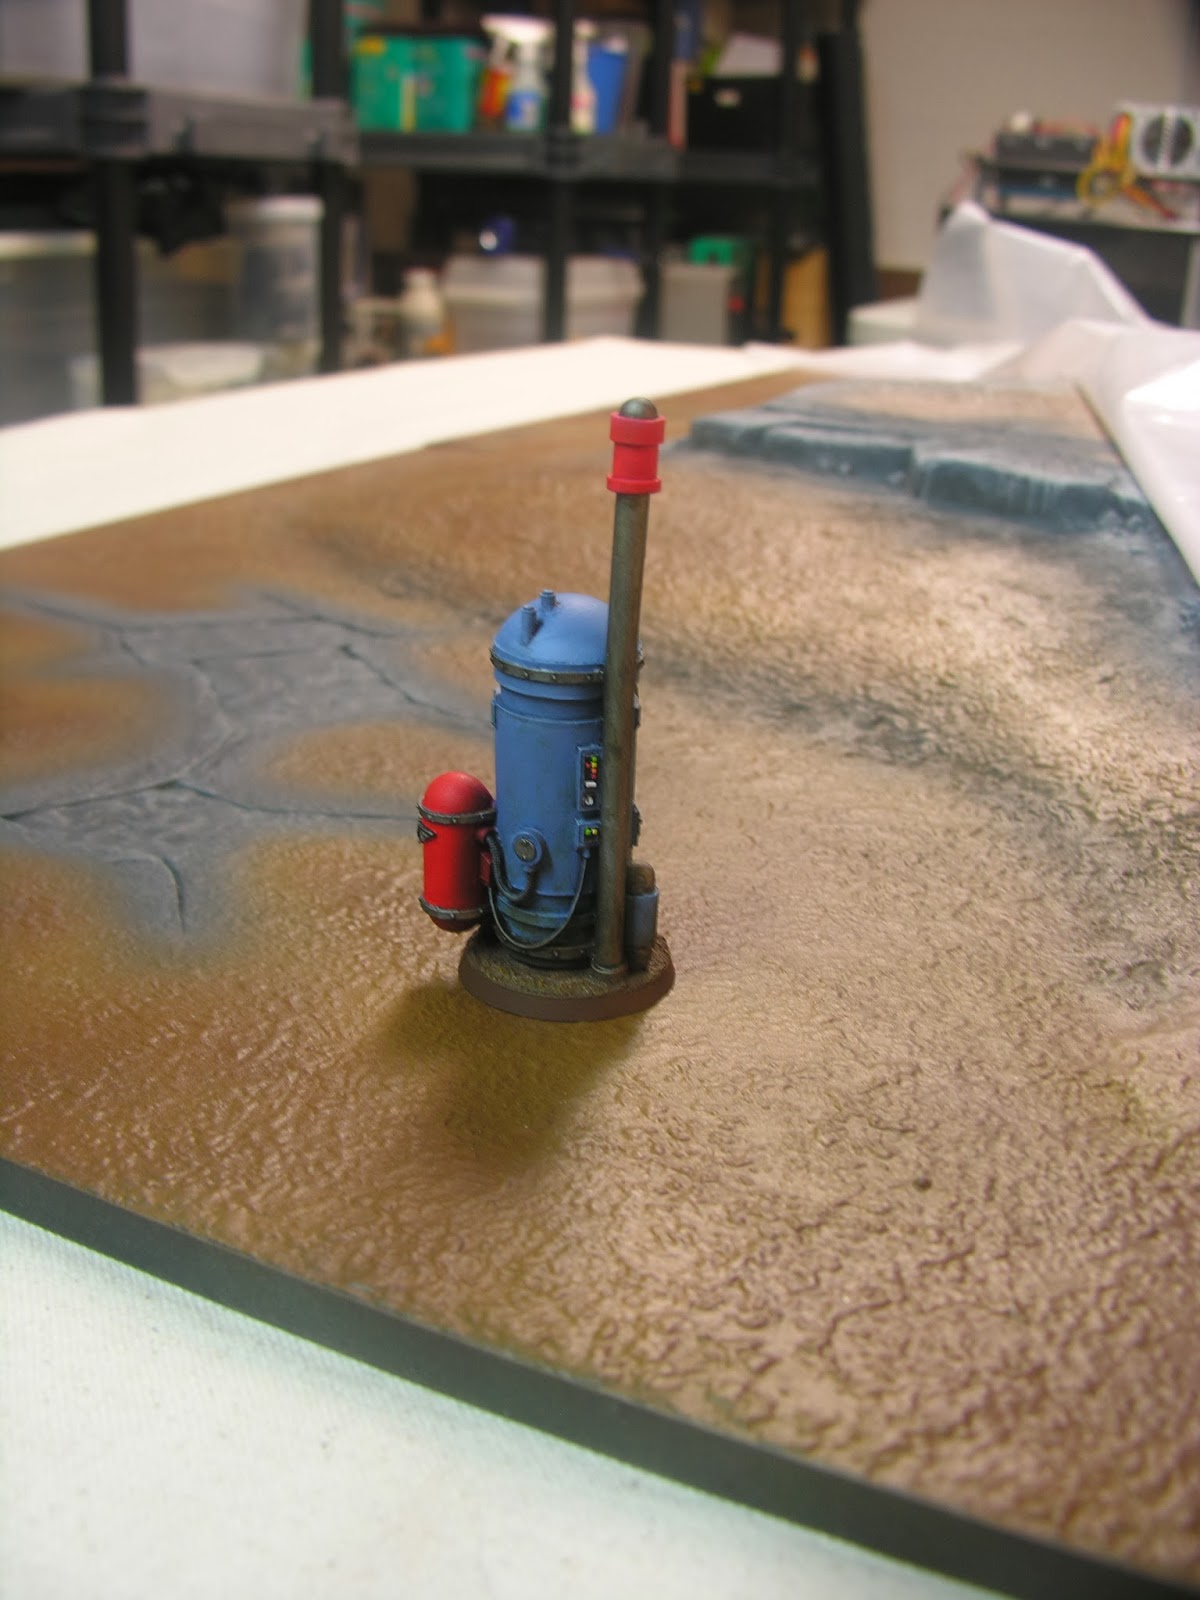
The last piece here is the Imperial moisture condenser.  If you Google this you will find shoots of it painted in a sand color but I really wanted to do something different so I went with a soft pastel blue.  I did the tanks in a vibrant red to set a good contrast and make the piece pop.  I airbrushed the pastel blue, base-coat, highlights and shade.  I also airbrushed the large tank masking off the rest of the piece to get that good finish.  Lots of details on this piece which were picked out by hand.  Washes and pigments were used for finishing touches.
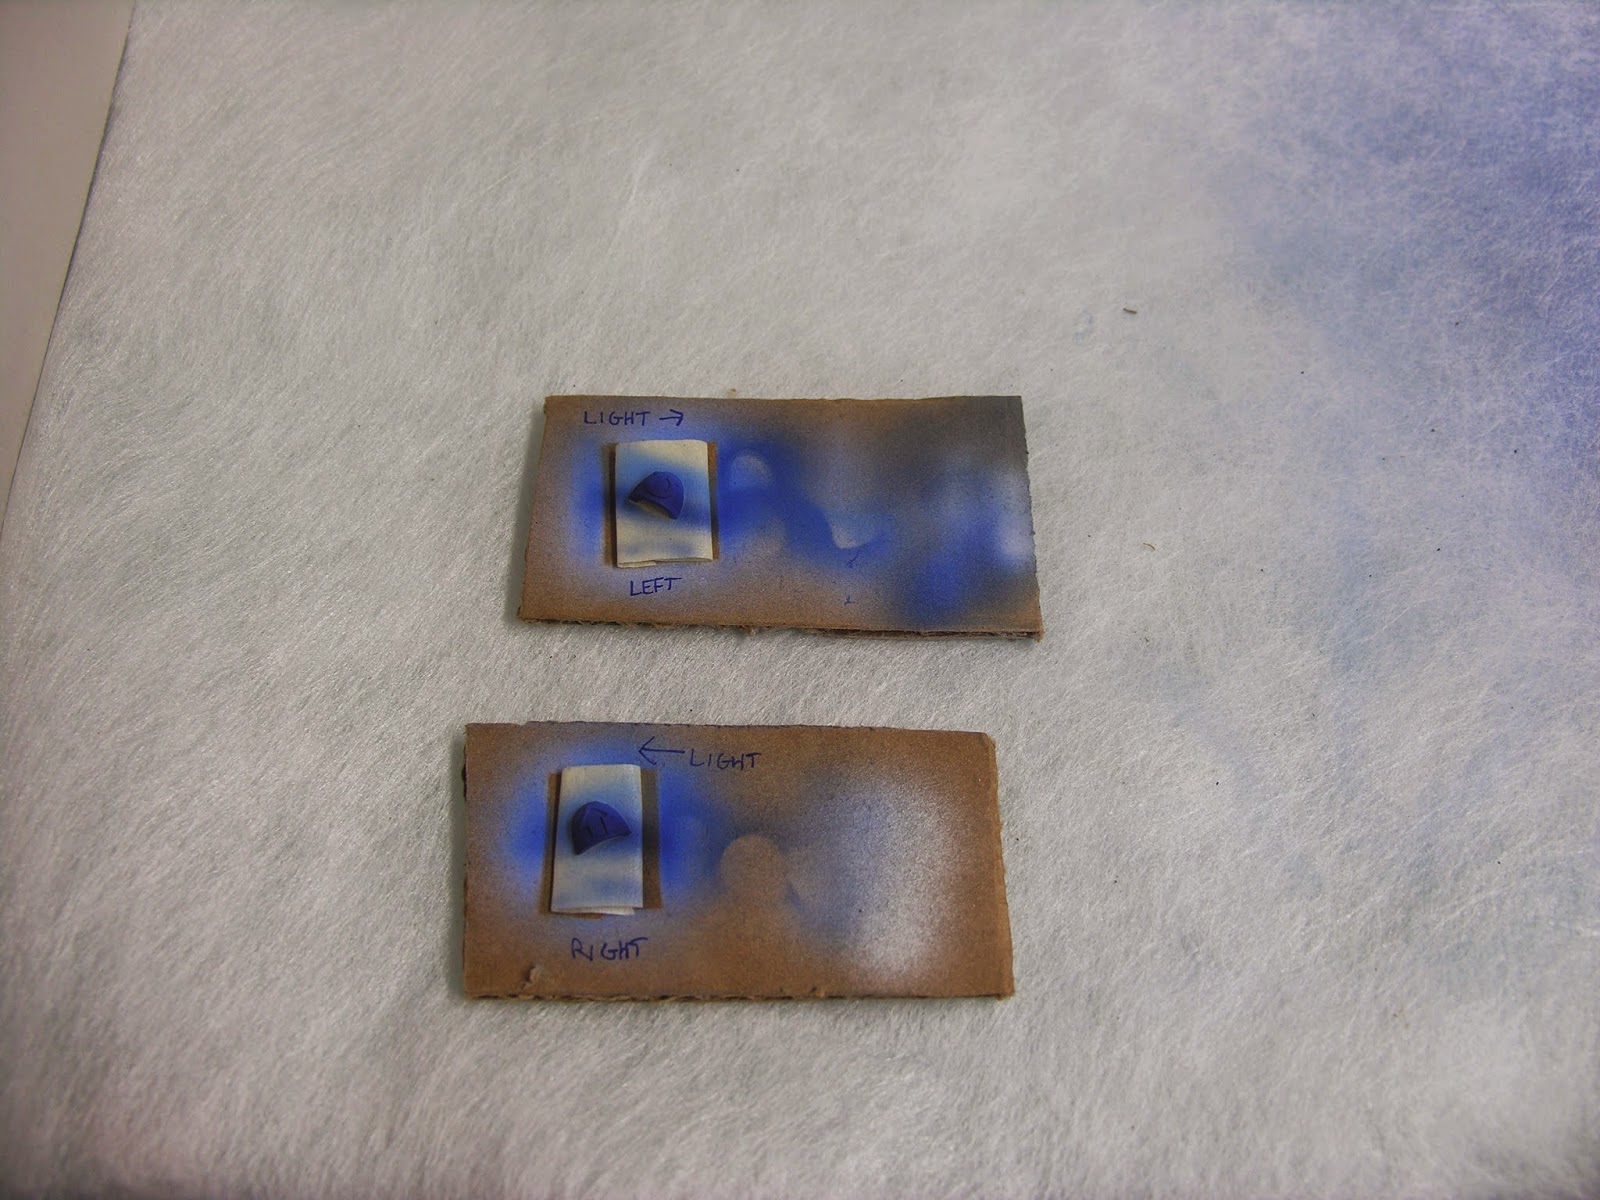
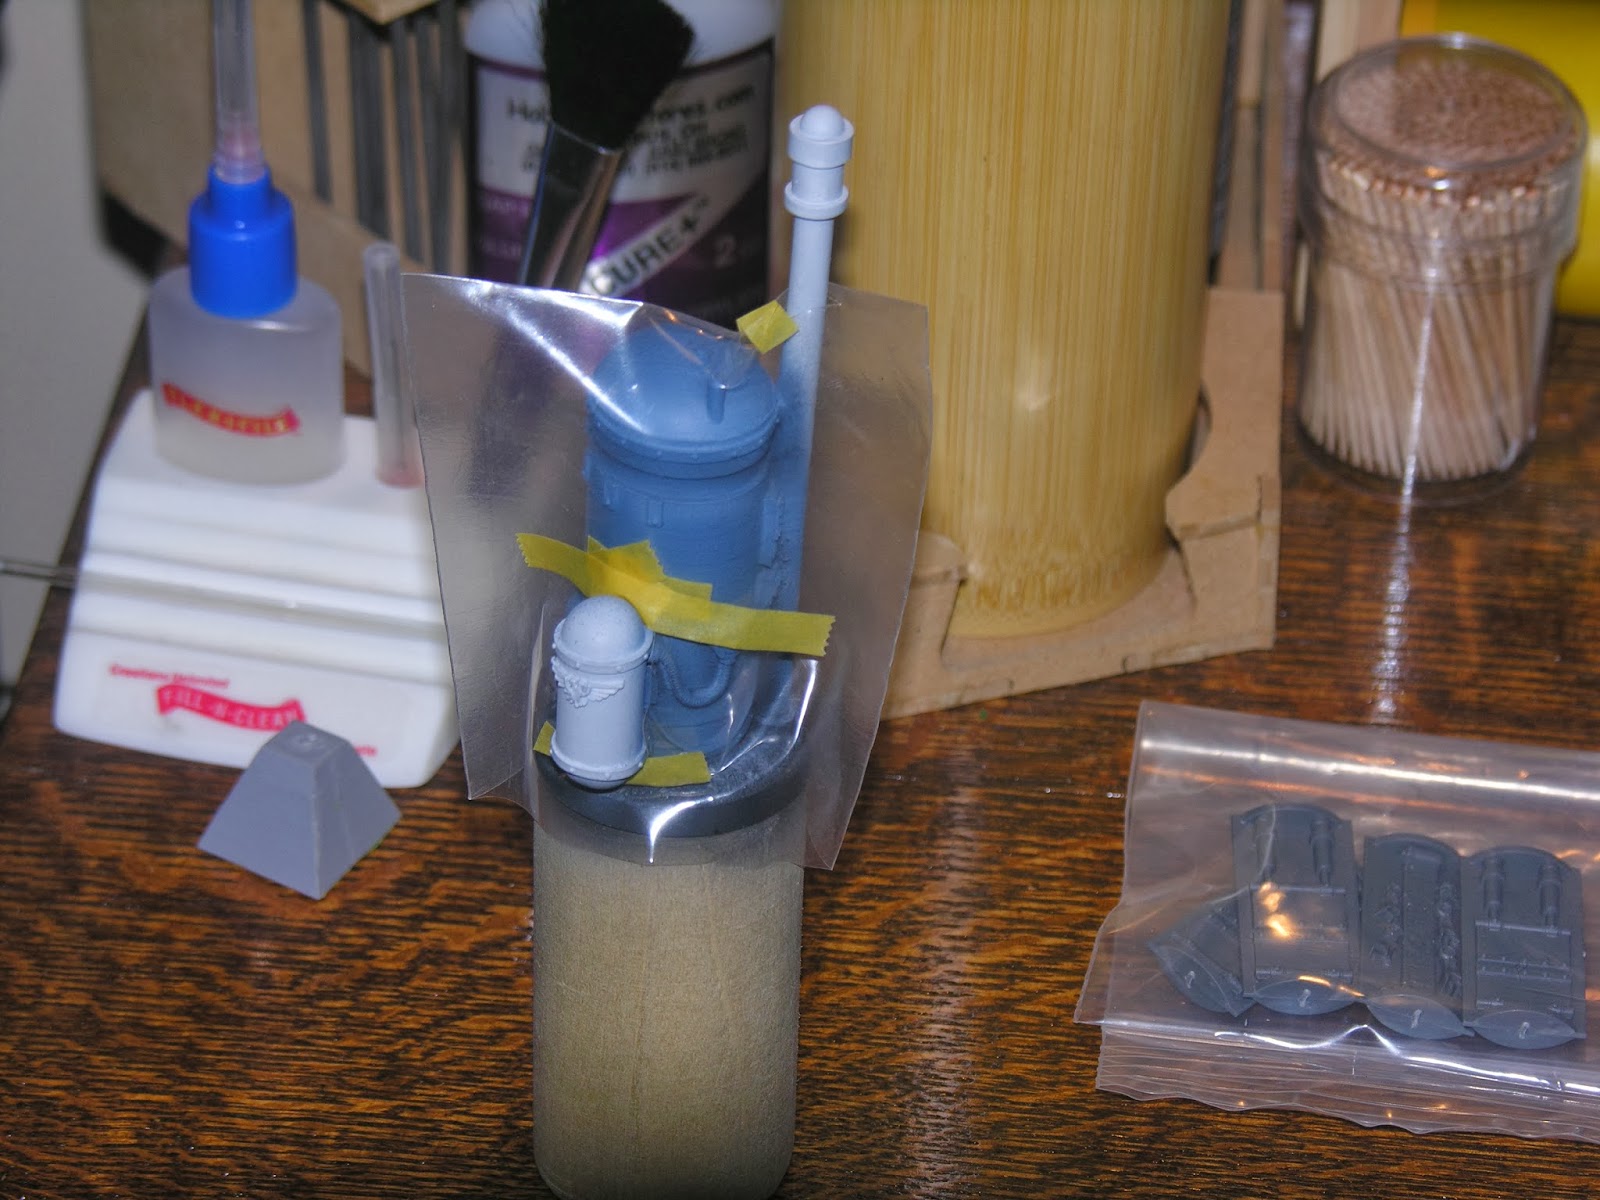
The condenser masked for painting
The control panel is visible above

Tuesday, January 28, 2014

Back Again and 40K Trees!

What Happened?
Well it’s been a little more than a year since my last entry.  I used to wonder how people would let blogs go so long without an update now I know.  LIFE it just happens.  In any case I have been busy and sadly the blog has just been a luxury I couldn’t afford.  My hope is to be more active this year so we will see.   Plus I feel guilty since every time I check on this blog I seem to pick up a few more followers.  Seems the content is good even if the frequency sucks.  In any case even though the blog has been dormant my hobby life has not.  Mainly I focused on knocking how terrain projects.  I had some old objective type pieces from Forgeworld and some old 40K trees I wanted to finish.  I have a Realm of War Table close to done and wanted some nice terrain to put on it.  In this entry I’ll do a review of the 40K Jungle Trees.


40K Jungle Trees
I have a number of sprues of the old 40k Jungle trees.  You see these on occasion in terrain used in White Dwarf and they were also included with the original Tau Battleforce.  They are interesting trees I wasn’t sure how to use.  I have had them sitting in the basement for years.  The large Oval base from GW that came around for flyers is very useful for terrain.  I use this base for a number of items.  In this case I decided to build a small rain forest terrain base.  


The brush I used a thick craft brush
You can see the talus and texture here
I used four trees, also ordered the jungle swarm from the GW and a skeleton from Secret Weapon to provide some variety.  The base was built up with Liquitex Ceramic Stucco.  This is a wonderful texture gel that can be mixed with paint or applied straight and primed and then painted.  I went with the later technique.  I also used talus to provide some rocky features.  Use an old brush or a craft brush you don't paint your minatures with.  The base was airbrushed and then drybrushed.  I also used wash on the tree bases to get deeper shading and wood grain.  I used Vallejo still water for small streams running between the trees.

Older bottle of the stucco the label looks different these days you find it in art and general hobby stores

This is the texture very smooth with a fine grit

I like the results and plan to paint up the rest of the trees in a similar style.  I have enough for about 5 bases which will make for a decent rainforest.  A few points I used a variety of colors to give a more vibrant look versus a uniform color for all and I’m happy with the results.  I glued the trees before I started, next time I will try to fit the trees together without gluing to allow for better access while painting.  In one of the photos you see guardsman legs off to the side.  I used those to create footprints which you can see in the finished picture below off to the left.

Skeleton above and snake from jungle swarm footprints to the left

Rocky formation to the left gives variety to the base
 Next time another project I completed from the Terrain Objective bin.